NEW ARRIVALS SALE!
NEW ARRIVALS SALE!
0 0 0 : 0 0 : 0 0 : 0 0
Shop nowDrawer menu

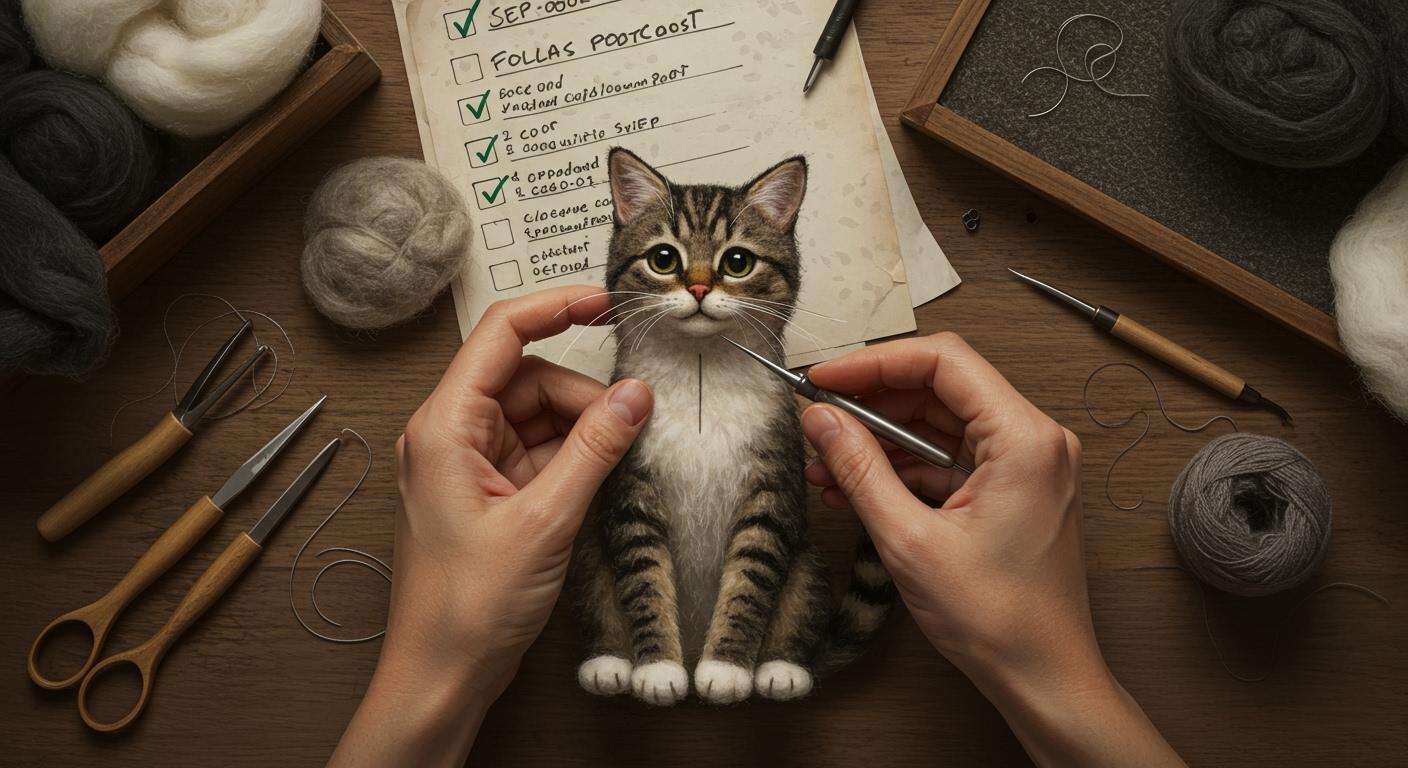
Ready to make your own needle felted cat? You should use wool that is soft and looks real. Look closely at your pet’s photos. This is important if you want a real-looking tabby birman cat. Good materials help you make animals that look real. They can look like the lifelike portraits from Pawimprint’s 3D Custom Stuffed Animal Clones. This tutorial gives you clear steps. You can follow them to make a realistic sculpture.
Pick the right wool for your work. Merino wool works well for small parts. Corriedale wool is strong for the main body.
Use different felting needles for each job. Start with a thick needle to shape the wool. Use thin needles for tiny details.
Look at your cat’s body and take clear photos. This helps you make a balanced and real-looking sculpture.
Make a strong base with wire or pipe cleaners. This gives your cat support and helps it keep its shape.
Focus on the face and fur texture. Small things like eyes, whiskers, and mixing colors make your cat look real.
Choosing the right wool makes a big difference in your needle felting project. You want your cat to look soft and lifelike, so pay attention to the texture and finish of the wool. Here’s a quick look at two popular types:
Wool Type |
Texture |
Finish |
Characteristics |
|---|---|---|---|
Merino |
Fine, soft |
Smooth, refined |
Great for tiny details. It feels soft but may not hold big shapes well. |
Corriedale |
Medium-coarse |
Firm, strong |
Balances softness and strength. Good for sturdy parts like the body and legs. |
Merino wool works best for faces and small features. Corriedale wool helps you build a strong base. Pawimprint’s 3D Custom Stuffed Animal Clones use premium wool felt to capture every detail of your pet.
Needle felting uses special needles. Each size has a job. You’ll see numbers like 36, 38, and 40. Lower numbers mean thicker needles. Higher numbers mean thinner needles.
Start with a coarse needle (like size 36) to shape the wool.
Switch to a medium needle (size 38) for most of the work.
Use a fine needle (size 40 or 42) for tiny details, like whiskers or ears.
Thicker needles work better with rough wool. Thinner needles help with soft wool and fine details. Finer needles break more easily, so handle them with care.
You need a few basic tools for needle felting a realistic cat:
Felting needles in different sizes
Wool (Merino and Corriedale)
Pipe cleaners for the armature
Craft eyes for realism
Scissors for trimming
Felting pad or foam block to protect your hands
Safety matters. Always watch your fingers. Use a felting pad. Finger guards help protect you. Store needles safely when you finish. Take breaks to rest your hands and eyes.
Pawimprint’s custom clones use glass eyes, resin, clay, or wax for features like noses and paws. These materials help make your cat look real and last a long time.
You want your needle felted cat to look just like your real pet. Start by picking the best photos. Choose pictures that show your cat from different angles. Front, side, and back views help you see every detail. Look for photos with good lighting. You need to see the fur color, markings, and eye shape clearly.
Here’s a quick tip:
📸 Try to use close-up shots for the face and paws. These areas have tiny details that make your cat unique.
If your cat has special markings or a fluffy tail, make sure you have a photo that shows these features. You can print your photos or keep them on your phone. Keep them nearby while you work. This way, you can check them often and match your sculpture to your pet.
Before you start felting, take a moment to study how cats are built. You don’t need to be a vet, but you should know the basic shapes. This helps you make your sculpture look real and balanced.
Here’s a table that breaks down the main parts of a cat:
Anatomical Feature |
Description |
|---|---|
Body Shape |
The body looks like a cylinder if your cat is sitting. A playful pose needs a longer shape. |
Head |
The head is a loose ball. Attach it to the body and cover the seam with wool. |
Ears |
Ears use small bits of wool. Shape them and place them on top of the head. |
Legs |
Legs come from the body wool. Front legs are a bit shorter, which helps if your cat has “socks.” |
Tail |
The tail is a dense tube. Use wool to make it thick or thin, depending on your cat. |
Notice how each part has its own shape. Study your photos and compare them to these features. If you want your cat to look playful, stretch the body and tail. For a sitting pose, keep the body round and compact.
🐾 Tip: Spend extra time on the head and face. These areas show your cat’s personality. Small changes here make a big difference.
You’re ready to move on once you know your cat’s shapes and have your photos ready. This prep work sets you up for a realistic needle felted cat that looks just like your furry friend.
You want your needle felted cat to stand strong and hold its shape. The armature base gives your sculpture support, just like bones in a real cat. You can use a few different materials to build this base. Here’s what works best:
Wire: Bendable and sturdy, wire lets you shape the body, legs, and tail. You can use pliers to twist and cut it.
Pipe cleaners: These are soft and easy to bend. They work well for smaller cats or delicate parts.
Wool: Wrap wool around the wire or pipe cleaners to start building up the body.
Felting needles: Use these to poke and shape the wool onto your armature.
Felting mat: Always work on a mat to protect your table and your hands.
Horse hair: Some artists add horse hair for extra strength, but you can skip this if you want.
You can watch demos in many needle felting tutorials to see how artists build different armatures. Try making a simple wire skeleton first. Shape the wire into a cat pose—sitting, walking, or stretching. Wrap pipe cleaners around the wire for extra grip. Cover the whole armature with a thin layer of wool. This gives you a good base to start felting.
🛠️ Tip: If you want your cat to stand up or hold a special pose, make sure the wire is thick enough. Test the balance before adding more wool.
Now you’re ready to build the main parts of your needle felted cat. This step is all about shaping each part so your cat looks realistic. Follow these steps to get the proportions right:
Make the head. Roll your chosen wool color into a loose ball. Use your needle to stab the ball until it feels firm and packed.
Shape the body. Take a larger piece of wool and form it into an oval. This will be the cat’s body.
Attach the head to the body. Hold the head against the body and stab around the neck area. This connects the two parts.
Create the paws. Roll smaller pieces of wool into little ovals. These will be the paws.
Attach the paws. Place each paw at a 45-degree angle to the body. Use your needle to stab and secure them.
Make the tail. Roll a piece of wool tightly for the tail. Stab it until it’s firm, then attach it to the body.
Add eyes and ears. Shape two small triangles for the ears. Roll black wool into tiny balls for the eyes. Attach both to the head.
Decorate with patterns. Use extra wool to add stripes, dots, or special markings that match your cat.
Finish your cat. Step back and look at your work. Make small changes until you’re happy with the shape.
🐾 Note: Always use a felting cushion under your project. This keeps your hands safe and helps your wool felt evenly.
You might run into a few common mistakes while shaping your cat. Here’s how to avoid them:
Mistake |
How to Fix or Avoid |
|---|---|
Not using a felting cushion |
Always work on a cushion or mat |
Stabbing the needle too deep |
Use short, quick stabs |
Using the wrong needle size |
Match needle size to wool type |
Felting with the wrong wool |
Choose wool like Romney or Icelandic |
Breaking felting needles |
Keep needle straight, avoid bending |
If you follow these steps, your needle felted cat will look lifelike and sturdy. Needle felting takes practice, but each project helps you get better. This tutorial gives you the basics for building a realistic cat, so take your time and enjoy the process.
You want your cat’s face to look just like the real thing. Start by studying your photos and notice the unique markings and shapes. Use your needle to poke layers of wool, building up the cheeks, nose, and chin. Focus on the eyes—glass eyes can make your sculpture come alive. Place them carefully and surround them with a bit of darker wool to add depth. Don’t forget the whiskers! You can use thin fishing line or horsehair for a lifelike touch.
Tip: Always check your work from different angles. This helps you spot any uneven spots or areas where you need to add details.
Getting the ears and paws right makes your cat look realistic. Here’s a simple way to create ears:
Cut a rough ear shape from flat felt fabric and fray the ends with scissors.
Wrap the ear in the right color wool, leaving the frayed part exposed.
Felt the wool onto the ear using a fine needle.
Attach the ear to the head, blending the frayed wool into the head so it looks natural.
For paws, wrap a pipe cleaner in merino wool and felt until it feels slightly dense. Use thread to make little indents for toes, then felt a small amount of wool between the toes to cover the thread. Pinch the sides of the paw to give it a 3D look.
🐾 Note: Take your time with these steps. Small details like ear shape and paw size make a big difference.
Natural fur has lots of shades and patterns. To get this look, try hand blending your wool. Use carding brushes or even a dog brush to mix colors for short fur. For long fur, stack different colors and pull them apart with your hands. Always start with a base color that matches your cat, then layer on small amounts of other colors where you see markings.
Layering is key. Build up color slowly to avoid clumps.
Use a reverse needle to fluff up the surface and comb the fibers for a soft finish.
Don’t over-felt. Let some fibers stay loose for a natural look.
If you want your cat to look extra real, study your reference photos and match the color patterns as closely as you can.
You want your cat to look alive, so pay close attention to the eyes, nose, and whiskers. When you add eyes, try using glass or resin for a lifelike sparkle. Place them carefully and surround them with darker wool to create depth. For the nose, blend pink and brown wool, then layer it on the snout. Add short fur around the bridge of the nose and cheeks to make the face pop. Whiskers make a big difference. Use thin fishing line or horsehair. Plant longer strands into the muzzle and trim them to the right length. Don’t forget to poke tiny whisker dots with your needle for extra detail.
Tip: Study your reference photos and match the placement of each feature. Small changes can make your cat look more like your real pet.
Fur texture brings your needle felted cat to life. Layer different shades of wool to copy your cat’s markings. Use a reverse felting needle to pull up fibers and create a fluffy look. For short fur, blend colors with a carding brush and felt them in thin layers. If you want long fur, stack colors and gently pull them apart before felting. Trim the fur with sharp scissors for a neat finish. Check the density as you go. If the wool feels too thick, remove some and re-felt for a softer look.
Now it’s time for the final finishing touches. Make sure every part stays in place. Use a fine needle and shallow pokes at an angle to smooth out any pockmarks. If you see a part that looks too big, trim it down with scissors. Always keep extra felting needles nearby in case one breaks. Choose the right wool—Romney or Icelandic works best for realistic animals. Avoid Superwash wool because it doesn’t felt well. Double-check that all features are secure, especially the eyes, nose, and whiskers.
If you spot a mistake, don’t worry. You can always fix it by adding or removing wool, or by reshaping the area with your needle.
When you start making a needle felted cat, you might run into a few bumps along the way. Don’t worry—everyone makes mistakes at first! Here are some of the most frequent problems beginners face:
Picking the wrong needle for the job
Choosing wool that doesn’t felt well
Using too much or too little wool
Poking the wool too deep
Forgetting about safety and poking your fingers
Not having enough patience
If you stop stabbing as soon as the surface feels hard, you might think you’re done. In reality, the inside can stay soft and loose. This is called under-felting. Your sculpture might lose its shape or even fall apart. Stabbing at random angles can also break your needle and leave the fibers uneven. You want to keep your needle straight and use gentle, even pokes.
🛑 Tip: Always check your work for firmness. Squeeze your needle felted cat gently. If it feels squishy, keep felting!
You can fix most mistakes with a few simple tricks. If your sculpture feels wobbly or collapses, build a sturdy core base with wool. This gives your needle felted cats a strong shape and helps you add more details later. For uneven color or texture, blend your wool before you start felting. Use a carding brush or your fingers to mix shades.
Here are some ways to improve density and shrinkage for a lifelike look:
Plan ahead. Add wool to the underside first so the top stays smooth.
Try mixing alpaca wool with other fibers. This makes the surface softer and less frizzy.
Use a slippery surface instead of a regular mat. This keeps the fibers from getting rough.
If you notice a part is too big or too small, just add or remove wool and keep shaping. You can always poke more to make the surface firmer. Take your time and check your reference photos often. The more you practice, the better your needle felted cat will look!
You can make a needle felted cat that looks real if you follow each step and use good materials. Try new ways to make your cat. Share your finished cats with others. Look at Pawimprint’s 3D Custom Stuffed Animal Clones for ideas.
Tutorials teach you how to shape heads, add fur, and make ears. You need a steady hand for these steps.
Many beginners want to know about starting materials. They ask about wire armatures and how to get smooth sculptures.
Custom pet replicas use high-quality wool and glass eyes. These make them special keepsakes.
Want more ideas? Check out these popular tutorials:
Tutorial Description |
Link |
|---|---|
Short fur cat head tutorial |
|
Long fur cat tutorial |
|
Whiskers tutorial |
|
Realistic cat eyes tutorial |
|
Time lapse video of cat head |
Post your questions or photos below. I would love to see your needle felted cats! 🐾
You can finish a simple cat in a few hours. If you want a realistic sculpture, you might spend several days. Take your time and enjoy each step. The more details you add, the longer it takes.
Merino wool feels soft and works well for faces. Corriedale wool gives you a sturdy base. You can blend colors for lifelike fur. Pawimprint uses premium wool felt for their custom pet clones.
Yes! You can add more wool or remove some with scissors. Use your needle to reshape any area. If you see a loose part, poke it gently until it feels firm. Mistakes help you learn.
Try glass or resin eyes for a lifelike sparkle. Surround the eyes with darker wool to add depth. Check your reference photos and match the placement. Small changes make a big difference.
Needle felting uses sharp needles. Kids should work with adult supervision. Use finger guards and a felting mat to protect hands. Always store needles safely when you finish.


