NEW ARRIVALS SALE!
NEW ARRIVALS SALE!
0 0 0 : 0 0 : 0 0 : 0 0
Shop nowDrawer menu

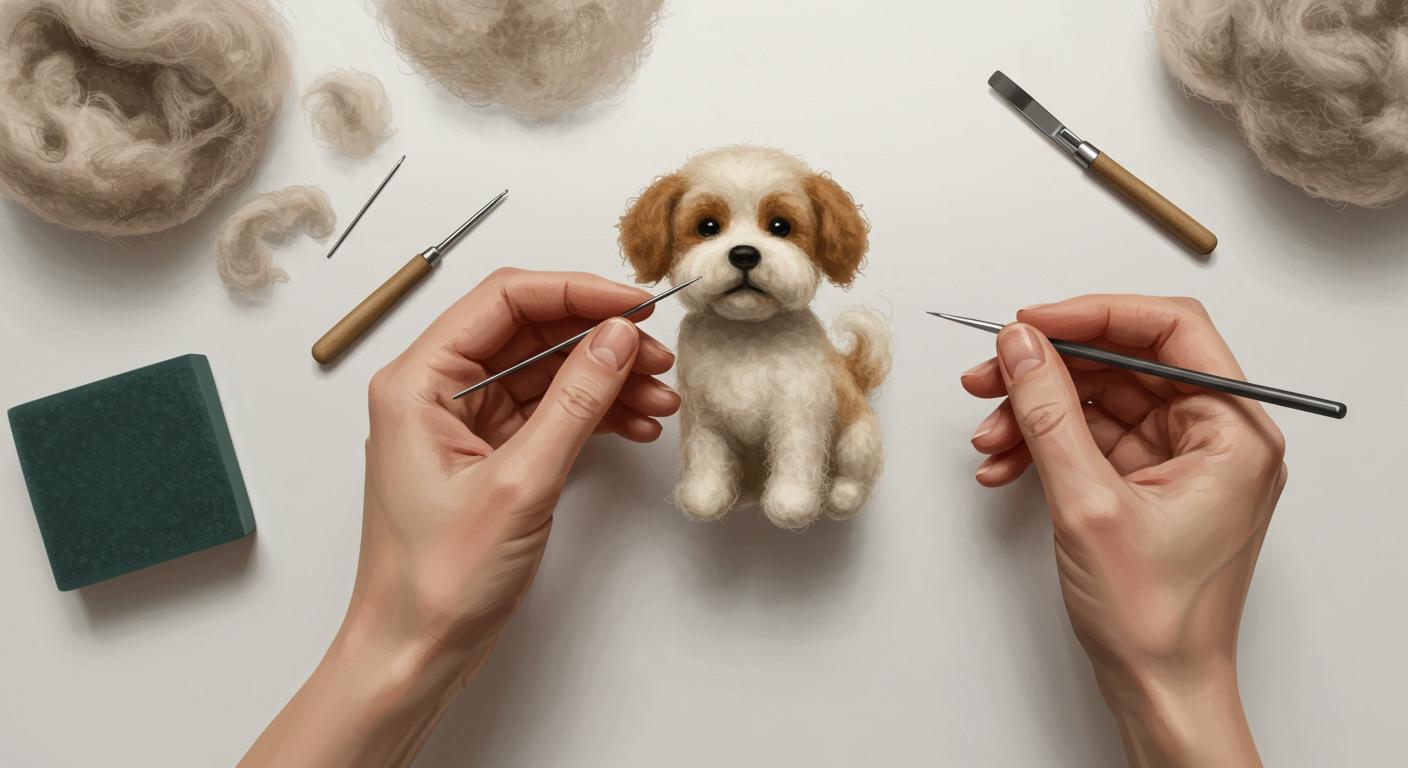
Welcome to the world of needle felting. You can make a needle felt dog with simple tools and a little patience. Many people start with popular breeds like Jack Russell Terrier. You might find joy in creating a dog that looks like your own pet, just as artists do for keepsakes such as Pawimprint’s photo frames. Before you begin, gather your beginner needle felting kit and set up your workspace with these essentials:
felting needles
cushion or work surface
bandaids for safety
Start with small amounts of wool and take your time. You will learn new skills with each project.
First, collect the main materials like wool, felting needles, and a work surface. You need these before you start your needle felting project. Pick the right wool for each part of your dog. Use core wool for the base. Use Merino wool for small details. Choose the correct felting needle size for shaping and details. Start with a coarse needle for the body. Switch to a finer needle for the features. Work slowly and be careful to avoid mistakes. Always pay attention to safety. Use finger guards and work on a cushion. Make your needle felt dog special by adding accessories. You can use collars or outfits to make it unique.
Choosing the right wool helps you create a realistic needle-felted dog. You will find several types of wool, each with its own purpose. Here is a table to help you compare the most common options:
Type of Wool |
Description |
Best Use |
|---|---|---|
Core Wool |
Cheaper, forms the inner structure |
Base shape for your needle-felted dog |
Carded Batts |
Easy to sculpt, flat features |
Ears, basic shapes |
Carded Slivers |
Good for wrapping over wire armatures |
Shaping and adding muscle |
Tops/Roving |
Long fibers, not easy to felt together |
Adding long fur to your dog |
Merino Wool |
Fine, soft, takes dye well |
Final layers and small details |
Corriedale Wool |
Medium-soft, felts easily, holds shape |
Structure and color blending |
Merino wool feels soft and smooth. It works well for the final layer and tiny details on your needle-felted dog. Corriedale wool gives you a firmer finish and helps your dog keep its shape. Many artists use both types to get the best results in their felting project. High-quality wool, like that used in custom keepsakes, makes your finished dog look more lifelike and durable.
Felting needles come in different sizes and shapes. Each size helps you with a different part of your needle-felted dog. Here is a quick guide:
Needle Size |
Use Description |
|---|---|
38 Star |
Good for shaping the whole dog and building the main form |
40 Triangular |
Best for adding fine details like eyes and noses |
Start your felting project with a 38 star needle to shape the body. Switch to a 40 triangular needle for delicate features. Using the right needle makes your technique easier and helps you avoid mistakes.
Safety matters when you work with sharp felting needles. You can protect your hands and enjoy your felting project more by following these tips:
Use finger guards or thimbles to shield your fingers from needle pricks.
Always work on a felting cushion or foam pad. This keeps your needle from slipping and protects your table.
Store your needles in a safe container when not in use.
Wear a leather glove on your off hand if you want extra protection.
Hold your needle-felted dog firmly, but do not squeeze too hard.
Tip: Never hold your dog in your hand while felting. Place it on your work surface to avoid injuries.
Custom products, like those made by skilled artists, use premium materials and safe practices. You can achieve a beautiful needle-felted dog by choosing quality supplies and working carefully.
Creating a needle felt dog is a rewarding project. You can follow these step-by-step instructions to make a realistic miniature. Each part of the dog needs careful attention. You will learn how to shape the head, muzzle, ears, body, tail, and add eyes and markings.
Start with the head. You need to make the body frame for your needle felt dog. Use a firm ball of wool as the base. Roll the wool tightly to avoid trapped air. This helps you get a smooth and solid head. Use a coarse needle first, then switch to a finer needle for details.
Photo references help you achieve realism. You can use a good picture of your dog. Adjust the photo with editing software to see details, especially in the eyes. Trace the image onto fabric to create a clear outline for needle felting.
Step |
Description |
|---|---|
1 |
Start with a good picture to ensure accuracy in the felted portrait. |
2 |
Use image editing software to adjust the photo for better detail, especially in the eyes. |
3 |
Transfer the image onto fabric using tracing techniques to create a clear outline for needle felting. |
Tip: Spend extra time shaping the head. This sets the look for your entire needle-felted dog.
Shape the muzzle by adding small amounts of wool to the front of the head. Use a fine needle and poke shallowly across the surface. This smooths out holes and gives a natural look. Attach the ears by felting small triangles or ovals. Position them based on your photo reference.
Common mistakes beginners make include:
Not using a cushion
Using the wrong needle
Choosing the wrong wool
Using too much or too little wool
Poking too deep
Not paying attention to safety
Poking at the wrong angle
Lack of patience
You can avoid these mistakes by working slowly and checking your progress often. Use a fine felting needle poked shallowly. Poke at an angled direction to smooth out holes. Insert needles with straight angles only. Avoid diagonal insertions to prevent damage.
Note: Novice felters often use too much or too little wool. This can make your project larger than you want.
Begin needle felting the body by rolling wool into an oval or cylinder shape. This forms the main body of your needle felted dog. Use core wool for the inside and add layers of Corriedale or Merino wool for the outside. Felt the body until it feels firm and smooth.
Make the tail by rolling a small piece of wool into a thin cylinder. Attach it to the back of the body. You can bend the tail to give your dog personality.
Tip: Start with a firm base to provide stability. This prevents wobbly limbs and helps your miniature needle-felted dog stand upright.
You need to attach the head, body, legs, and tail securely. Follow these steps:
Make each body part separately. Felt each piece into shape before joining. Softer pieces are easier to attach, while firmly felted pieces hold their shape better.
Start with the head. Attach the head to the body by stabbing through the join from different angles to lock them in place.
Strengthen the join with wisps of wool. Lay a thin wisp of wool across the join and felt it in place from both directions to blend the parts seamlessly.
Refine and fill out the shape. Add extra wool to balance proportions and smooth rough areas after all parts are attached.
For symmetry, make each body part separately and start with the head for proper scale. Use wisps of wool across the joins instead of wrapping them. This creates a seamless look. Start by attaching the hind legs first. This helps you visualize the positioning of the forelegs. Needle felt each leg onto the body by stabbing the wool at the fluffed end into the body from various angles. For the forelegs, stab at an angle under the armpit and add extra wool into the join. Attach the second foreleg lightly at first. Adjust for symmetry before securing it in place.
Tip: Using wisps of wool across the join makes the body parts appear as a single piece. This is important for a realistic needle-felted dog.
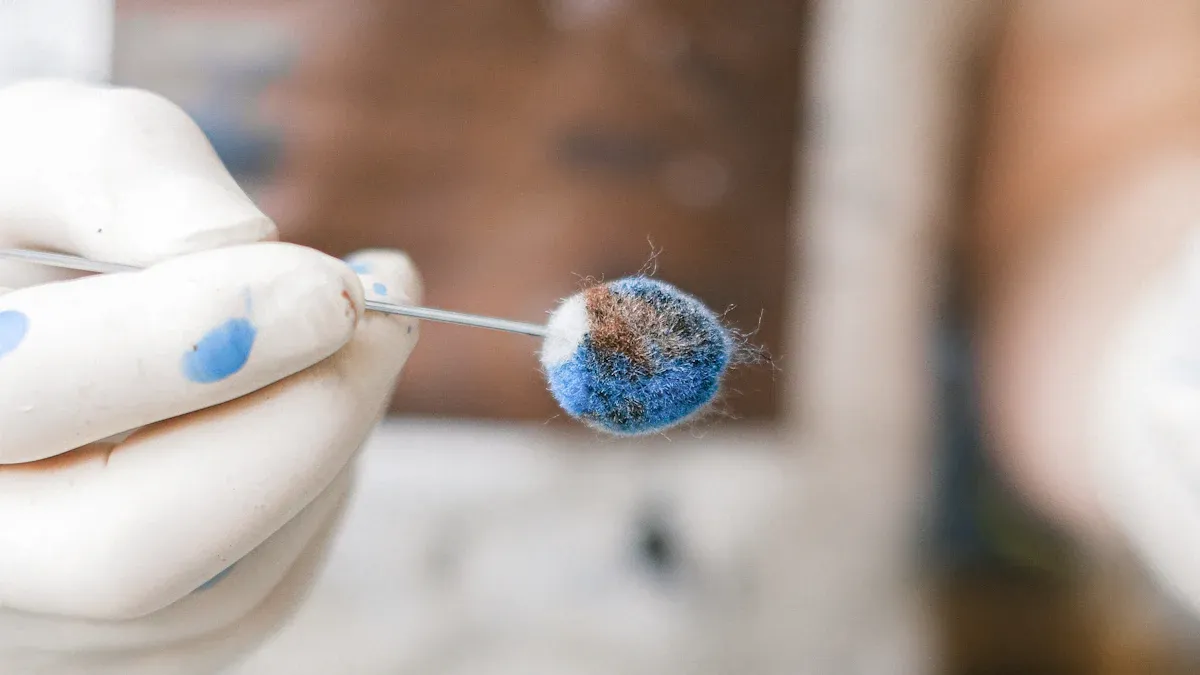
Add eyes to your needle felt dog by using tiny balls of black or brown wool. Place them carefully on the head. The size and position of the eyes affect realism. Study your photo reference to match the eye anatomy and color.
Pay attention to eye size and position for realism.
Choose colors that match your dog’s eyes.
Use small amounts of wool to add eyes and markings.
Convey mood and expression through the eyes.
You can add markings by layering colored wool on the body. Use small amounts and felt gently to blend the colors. This helps you create spots, patches, or unique patterns.
Tip: Take your time when you add eyes and markings. These details bring your needle-felted dog to life.
Felt it more. Spend extra time on each part to achieve a firmer and smoother project.
Don’t give up too soon. If you feel frustrated, take a break and return later.
Patience is key. Your skills will improve with practice.
Roll the wool tightly to minimize trapped air.
Use a coarse needle first, then switch to finer needles for refinement.
You can create a beautiful needle felt dog by following these instructions. Each project helps you learn new techniques. Your miniature will become more lifelike as you practice.
You can make your needle-felted dog look more realistic by smoothing and densifying its surface. Try these best practices:
Use a sharp felting needle or even a regular sewing needle to gently brush fibers over any holes.
Take a soft toothbrush or baby brush and move it in small circles to blend the wool and cover gaps.
Trim stray fibers with small scissors for a neat finish.
Press the surface with a mini crafting iron or a hair straightener to smooth down fuzz and give a sleek look.
These steps help you achieve a polished appearance. Your dog will look more lifelike and professional.
You can set the pose and add finishing details to give your needle-felted dog personality. Decide if you want your dog sitting, standing, or lying down. Adjust the legs and tail to match the pose. Shape the ears and tilt the head for a playful or alert look. Use your fingers and felting needle to refine the mouth and eyes. Small changes in the eyes or mouth can show happiness, curiosity, or calmness.
Tip: Study photos of real dogs to capture natural poses and expressions.
Personalizing your needle-felted dog makes it unique. Many creators add accessories or special features. Here are some popular options:
Accessory Type |
Description |
|---|---|
Felt Dog Collar Shapes |
|
Bow Ties |
Give your dog a playful or formal look |
Dog Clothes |
Dress your dog in tiny outfits |
Bandanas |
Add a fun bandana for extra flair |
Dog ID Tags |
Attach a small tag for a realistic touch |
You can also create a custom felt pet using your own dog’s fur or make a 3D portrait from a favorite photo. Many artists display their work in handmade frames for a special keepsake.
Share your finished dog online or join needle felting groups. Feedback from others helps you improve and find inspiration for your next project. Celebrate your creativity and enjoy the process!
You can make a needle felt dog that shows your creativity. Each project is special because you pick the wool colors. You shape the features and add details, like in framed portraits. If you practice often, your skills will get better. You do not need to be an artist to start. Be proud of what you make and try new ways to felt. Show your finished dog to others or try harder needle felting projects.
You can finish a small needle felt dog in two to four hours. Larger or more detailed dogs may take longer. Take breaks to avoid hand fatigue.
Stop felting right away. Wash your hands with soap and water. Use a bandage if you see blood. Always use finger guards for extra safety.
You should use wool designed for felting, like Merino or Corriedale. Craft stores sell felting wool. Regular yarn does not felt well and may not hold its shape.
Remove the wool gently with tweezers. Add new wool and felt again. You can reshape parts by adding or removing small amounts. Practice helps you improve your skills.


