
Step-by-Step Guide to Creating Your Own Cat Painting
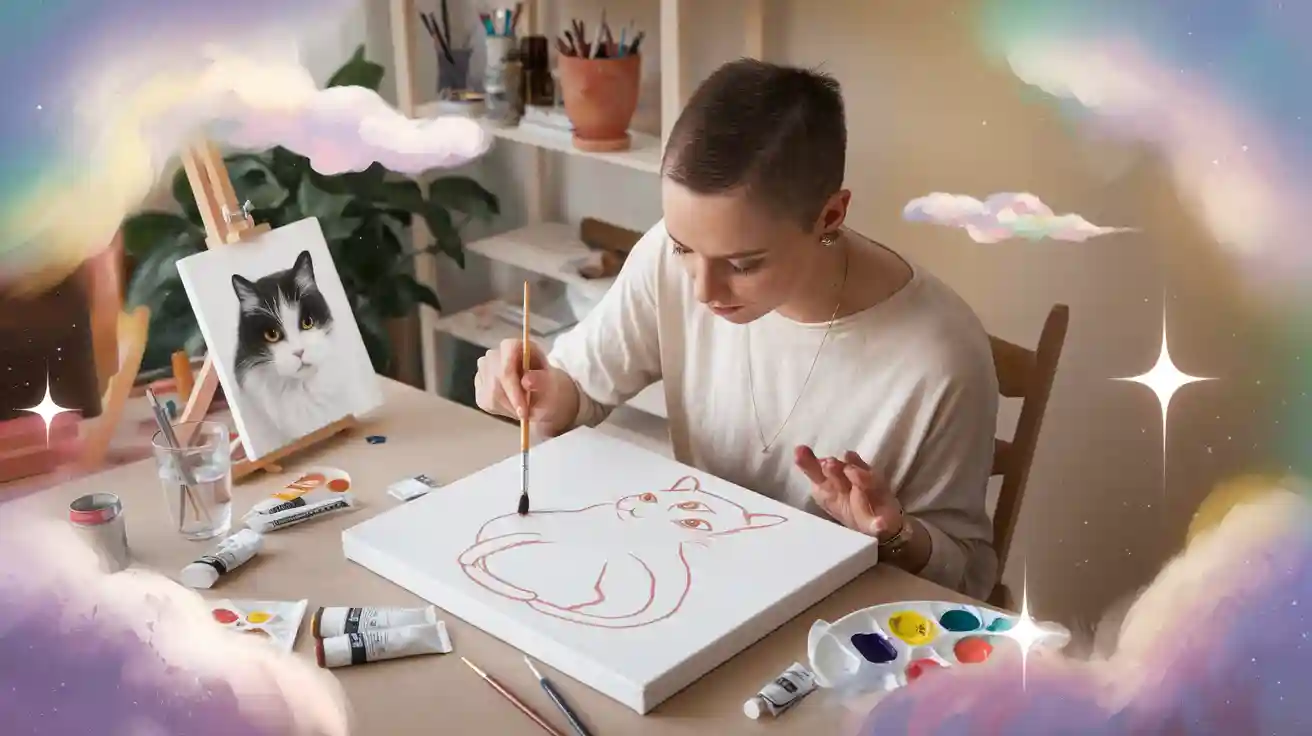
Anyone can make a cat painting with the right steps. You do not need any experience to start your own pet portrait. This step-by-step guide shows you how to paint a cat and enjoy capturing your furry friend. Many beginners think pet portrait painting is fun and rewarding. If you want a custom pet portrait, you can ask talented artists to make one for you. Remember, showing your cat’s spirit makes every commission special. > Let your creativity shine as you make your pet portrait or ask for a custom pet portrait today!
Key Takeaways
Pick strong materials like cotton canvas and gouache paint. This will help you feel sure when you start your cat painting. - Choose a bright, clear photo of your cat. Make sure the photo shows your cat’s personality and details. This will be your best reference. - Set up your workspace in a clean spot with lots of light. Natural light helps you see colors and details better while you paint. - Start by drawing simple shapes with a light pencil. Sketch your cat’s size and shape before you add small details. - Paint in layers. Focus on the way the fur goes and the eyes. This will help your cat portrait look real and lively.
Materials
Canvas and Paints
Choosing the right canvas and paints helps you start your cat painting with confidence. Most professional artists suggest using canvases made from natural fibers like linen or cotton. Linen gives you the highest quality and lasts the longest, but cotton is more affordable and still strong. You can find canvases that are already stretched and primed with acrylic gesso. These are easy to use and help your paint stick better. If you want to frame your painting, pick a thinner, traditional canvas. For a modern look, choose a deep canvas that does not need a frame.
Gouache paint works well for cat portraits. You can thin it with water for soft, light effects or use it thick for bold, rich colors. Gouache lets you layer colors, which is great for painting fur. Try painting in the direction of your cat’s hair to make the fur look real. Start with colors a bit darker than you want, because gouache gets lighter as it dries. Layer both light and dark shades to add depth and life to your painting.
Tip: Use the direction of light in your photo to guide where you place shadows and highlights. This makes your cat look more three-dimensional.
Brushes and Extras
The right brushes help you create both broad strokes and tiny details. You need a mix of brush types and sizes for the best results. Here is a quick guide:
Brush Type |
Description |
Use in Cat Fur Painting |
|---|---|---|
Flat |
Large, flat shape |
Good for base colors and shadows |
Filbert |
Oval tip |
Soft marks and fur direction |
Round |
Pointed tip |
Highlights and precise marks |
Angle |
Slanted bristles |
Short hair and curved lines |
Detail |
Very small, fine tip |
Whiskers and fine fur |
Flat and filbert brushes help you block in big areas and show the flow of fur. Round and angle brushes let you add highlights and shape the fur. Detail brushes are perfect for whiskers and the finest hairs. Synthetic bristles blend colors smoothly, while hog bristles work well for rougher strokes.
Keep your brushes clean, especially the small ones. This keeps the tips sharp for painting fine details. You may also want a palette for mixing colors, a cup for water, and a soft cloth for wiping brushes. These extras help you stay organized and make painting easier.
Reference Photo
Choosing the Best Photo
Selecting the right photo is the first step to a great pet portrait. You want a picture that shows your cat’s true personality and helps you capture every detail in your portrait. Here are some tips to help you choose the best photo:
Use natural daylight for soft, even lighting. This helps you see the real colors of your cat’s fur.
Take the photo at your cat’s eye level. This creates a natural and friendly perspective for your portrait.
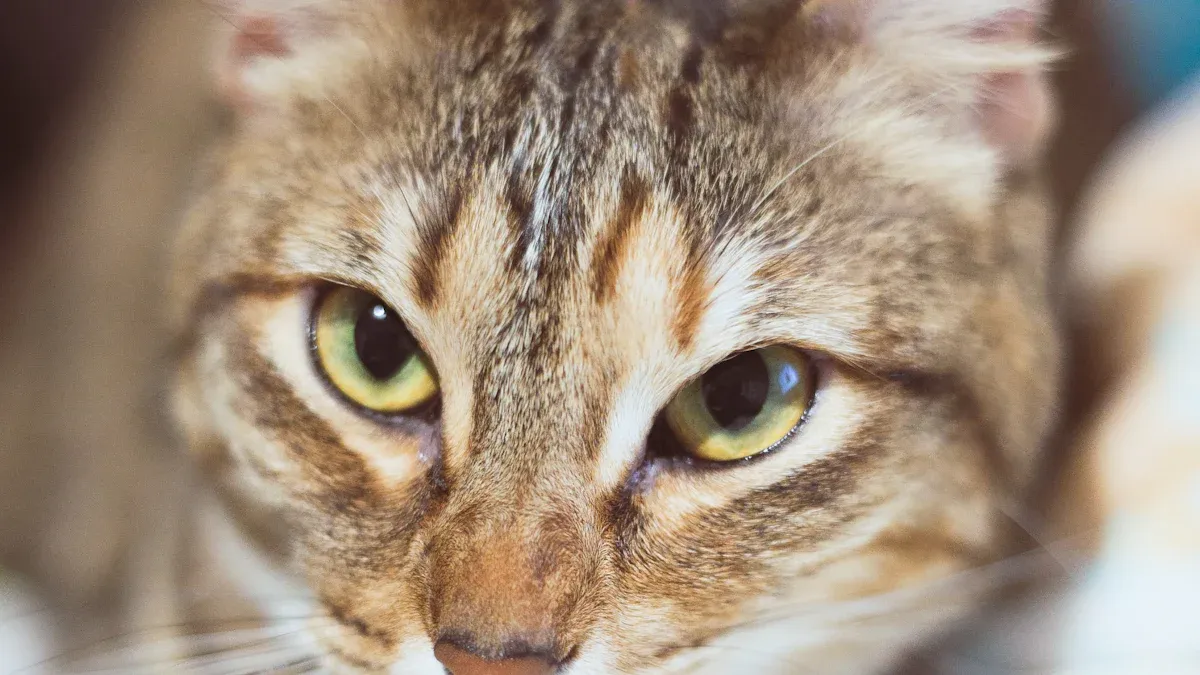
Make sure the eyes are in sharp focus. The eyes are the most expressive part of any pet portrait.
Look for relaxed and natural poses. Your cat should look comfortable, not stiff or scared.
Avoid close-up shots that distort the face. Step back and use zoom if needed.
Frame the photo well. Include the whole body for a full-body portrait or focus on the face for a head study. Do not crop out important features like ears or tail.
For more than one pet, take separate photos with similar lighting. This helps you combine them naturally in your final portrait.
Always use the original, full-size image from your camera or phone. This keeps all the details clear.
Understanding your subject starts with a good photo. A strong reference makes painting easier and more enjoyable.
Editing Tips
After you pick your photo, you can use editing tools to make it even better for your pet portrait. Cropping the image helps you focus on the most important parts, like the face or eyes. You can adjust the brightness and contrast to show the fur’s texture and color more clearly. Some artists use AI tools to enhance the image, making details sharper and colors richer. Adding words like "impasto painting" or an artist’s name to your prompt can help if you use AI to create a painterly style. Try to remove any unwanted objects or distractions from the background. Refine your image step by step until it matches the style and mood you want for your portrait.
Workspace Setup
Lighting
Good lighting helps you see colors and details clearly while you paint your cat portrait. Artists often choose soft, natural light because it makes colors look true and reduces harsh shadows. You can set up your workspace near a large window or paint outside on a cloudy day. Cloudy days give you soft, even light that flatters your subject and helps you spot small details in your cat’s fur and eyes.
Soft natural light, like on cloudy days, reduces harsh shadows and gives your painting a gentle look.
Place your canvas so you face the light source. This setup lights up your work evenly and adds sparkle to your cat’s eyes.
Avoid harsh overhead lights. These can create strong shadows and make it hard to see fine details.
Backlighting can add a nice glow, but make sure your cat’s face still gets enough light.
Do not use flash. Flash flattens features and changes the real colors of your cat.
Tip: If you do not have enough natural light, use adjustable LED lights that mimic daylight. These lights help you see true colors and keep your eyes comfortable.
Organization
A tidy workspace helps you stay focused and creative. Professional artists keep their tools and materials organized so they can work faster and enjoy painting more. You can use racks for brushes and paints to keep them easy to reach. Storage chests or small drawers hold extra supplies and keep your area neat.
Place your easel where you have the best light and enough space to move around.
Use drying racks or canvas holders to keep your paintings safe while they dry.
Choose calming colors for your workspace. Green can boost creativity, and blue can help you focus.
Add a plant or play soft music to make your space relaxing and inspiring.
Keep your workspace clean. A clutter-free area helps you think clearly and enjoy your painting time.
Note: A well-organized and bright workspace makes painting your cat portrait easier and more fun. You will feel more creative and less stressed when everything has its place.
Canvas Prep
Priming
Before you start painting your cat, you need to prepare your canvas. If you use a new canvas, check if it is already primed. Most store-bought canvases come with a layer of acrylic gesso. This layer seals the surface and keeps the paint from soaking in. If your canvas feels rough or looks dull, you should add a primer.
Use white acrylic paint or gesso for the base coat. This step creates a smooth barrier and helps your colors look bright. You can use a wide, flat brush to spread the primer evenly. Let the first coat dry, then add a second coat if needed. Some artists use colored primer if they want a warm or cool background. The most important thing is to make sure the canvas is sealed and ready for paint.
Tip: Always let each layer of primer dry completely. This prevents cracks and helps your painting last longer.
Transferring Image
Getting your cat’s image onto the canvas is the next step. You have several beginner-friendly methods to choose from. Each method helps you create an accurate outline before you start painting.
Water-soluble stabilizer: Draw your cat’s outline on the stabilizer. Place it over the canvas and secure both layers. This method gives you a clear and durable guide.
Printing directly onto canvas: Some printers let you print your cat’s photo right onto the fabric. This method gives you a sharp, accurate image to follow.
Tracing with a light source: Tape your reference photo to a window or use a light box. Place the canvas on top and trace the main shapes. This method works well for simple outlines but may miss small details.
Choose the method that feels easiest for you. A clear outline helps you focus on painting and brings your cat portrait to life.
Sketching
Proportions
Getting the proportions right is the foundation of any successful pet portrait. You want your cat to look natural and lifelike, so start by observing cat anatomy and features closely. Begin with a good reference photo. This helps you see the shapes and sizes clearly. Artists often break down the cat’s face into simple shapes: a broad oval for the head, a smaller circle for the muzzle, and triangles for the ears. The eyes usually appear as large almond-shaped ovals, taking up about a third of the face.
Follow these steps to sketch accurate proportions for your portrait:
Use a ruler or scrap paper to measure and plot key points.
Set the width of the cat’s head to about 1¼ times its height.
Make the body height about 3½ heads tall and the body width about 2 heads wide.
Draw a diagonal guideline through the center of the head to show tilt.
Add perpendicular guidelines to align the eyes and mouth.
Block in the facial features, making sure both eyes match in size and shape.
Use light pencil strokes at first so you can adjust as needed.
Focus on size relationships before adding details.
Gradually refine your lines, erasing guidelines as the portrait takes shape.
Tip: Always check your sketch from a distance. This helps you spot any mistakes in proportion before you move on.
Details
Once you have the basic structure, you can start adding details to your pet portrait. Pay close attention to the unique features that make your cat special. Notice the triangular nose, the inverted ‘Y’ where the nose meets the mouth, and the natural “eye liner” fur patterns. These small touches bring your portrait to life.
Use different pencil values—light, medium, and dark—to build up the drawing. Start with light shading, then add darker lines for the eyes, nose, and mouth. Keep refining the fur direction and texture. Remember, understanding your subject helps you capture its personality. Take your time and enjoy the process. Each detail you add makes your pet portrait more realistic and personal.
Cat Painting Techniques
Color Mixing
Learning how to mix colors is one of the most important steps in how to paint a cat. You want your pet portrait to look natural and full of life. Mixing colors for the cat's fur and eyes helps you capture the unique shades and patterns that make your cat special. Many artists use a limited palette to keep the painting process simple and harmonious. Here are some strategies you can follow:
Start with four main colors: Transparent Red Oxide, Ultramarine Blue, Naples Yellow, and Titanium White. These colors give you a wide range of tones for any cat painting.
Mix Transparent Red Oxide and Ultramarine Blue to create a value scale. This combination produces rich neutrals and greys, which are perfect for shadows and soft fur areas.
Adjust the temperature of your colors. Add more Transparent Red Oxide or Naples Yellow for warmer fur tones. Use more Ultramarine Blue or Titanium White for cooler shades.
Block in the main colors first. Focus on the big shapes and value relationships before adding details. This step gives your pet portrait a strong foundation.
Use the wet-into-wet technique. Blend your brushstrokes while the paint is still wet to create smooth transitions in the fur.
Paint in the direction of the fur growth. Work in clumps or masses of fur, not single hairs. Separate these areas with lighter or darker tones to show depth.
Soften the edges where the fur meets the background. Blurring some edges makes the fur look soft and realistic.
Tip: Always compare your mixed colors to your reference photo. This helps you match the real fur and eye colors of your cat.
Fur and Eyes
When you want to create a captivating portrait, you need to pay close attention to the fur and eyes. These features bring your pet portrait to life. Start by observing the direction and texture of the fur. Use brushes with splayed bristles, like old angle brushes, to flick out natural-looking hairs. Work from dark to light, layering colors as you go. Begin with a mid-tone base, then add darker shadows and lighter highlights. This method helps you build up the fur gradually, making it look soft and full.
Tips for creating fur include painting in the direction of hair growth and focusing on clumps rather than individual strands. Layer your brushstrokes, letting each layer dry before adding the next. Highlights often look warmer, while shadows appear cooler. Mix custom colors to match the unique patterns of your cat’s coat. Patience is key—fur takes time to build up, but each layer adds depth and realism.
Eyes are the focal point of any cat painting. Focusing on the cat's eyes and nose helps you capture the animal’s spirit. Start by painting the eyes in greyscale. This step lets you focus on the shape and depth. Once dry, glaze thin layers of color over the base. Use several shades—orange, yellow, green, brown, blue, and white highlights—to create depth and reflections. Add shadows under the eyelids and small highlights to make the eyes sparkle. Take your time blending the colors. The eyes should look bright and alive.
Remember: Capturing the light in the eyes and the softness of the fur will turn your painting into a true feline masterpiece.
You can use pastel pencils or broken pastel sticks for the final bright highlights on the fur and eyes. These tools help you add the smallest details that make your portrait stand out. Trust the layering process, even if the painting looks strange at first. With patience, your pet portrait will come together and show your cat’s unique personality.
Realistic Cat Portrait Steps
Layering
You can create a realistic cat portrait by building up layers step by step. Start with a basic outline of your cat. Use simple shapes like circles for the head and triangles for the ears. This helps you get the proportions right. Next, focus on the eyes. Spend extra time on them because they show your cat’s character and soul. Complete one side of the face first. This lets you compare light and dark areas and set the right contrast.
Follow these steps for the painting process:
Draw the outline and basic shapes.
Paint the eyes, making sure to capture reflections and depth.
Finish one side of the face, adding shadows and highlights.
Complete the head, paying attention to fur direction.
Adjust the contrast by comparing your work to your reference photo.
Paint the body, placing shadows and stripes carefully.
Add final touches like whiskers and bright highlights.
Layering helps you add details and depth to your pet portrait. Let each layer dry before adding the next. This keeps the colors clean and the fur strands sharp.
Tip: Always compare your portrait to your reference photo. This helps you stay accurate and realistic.
Texture
Creating realistic fur textures is key to a lifelike cat painting. Use medium to small pointed round brushes for most of the fur. For details, switch to a fine liner brush. Paint in the direction the fur grows. For long fur, use long, thin strokes with light pressure. For short fur, start with a soft wash, then add short strokes on top when dry. Curly fur needs wavy, U-shaped strokes with different pressure.
Work in small sections. This helps you control the look of each area. Add darker colors in shadowed spots to create depth. Finish with highlights using white paint and a fine brush. This makes the fur stand out and look soft.
Practice your brush strokes on scrap paper before working on your portrait. This builds confidence and control.
By focusing on layering and texture, you bring your pet portrait to life. Capturing the unique patterns and softness of your cat’s fur makes your realistic cat portrait truly special.
Background
Simple Ideas
A good background helps your cat portrait stand out. You do not need to make it complicated. Simple backgrounds often work best because they keep the focus on your pet. You can use soft colors like light blue, pale green, or gentle gray. These colors do not distract from your cat’s face or fur. Try painting a blurry background. This makes your cat look sharp and clear. You can also use a single color for a modern look.
Here are some easy background ideas:
Paint a soft, out-of-focus garden or room.
Use a gentle gradient that goes from light at the top to darker at the bottom.
Add a few simple shapes, like leaves or soft circles, to suggest a setting without too much detail.
Try a plain white or cream background for a classic style.
Tip: Plan your background colors before you start your portrait. This helps you keep the painting balanced and pleasing to the eye.
Blending
Blending helps you create smooth backgrounds that look soft and natural. You can use several techniques to get the effect you want. Each method gives a different look, so you can choose what works best for your portrait.
Segmented Blending: Layer thin, see-through paint to build up shading and depth. This works well for gentle color changes.
Dilution Blending: Mix your paint with water or matte medium. This makes soft, gentle transitions between colors.
Dab Blending: Dab the wet paint with your finger or a soft cloth. This softens edges and lightens areas.
Dry Brushing: Use a dry brush with very little paint. This creates a cloudy, textured effect.
Wet-on-Wet Blending: Blend wet paint right on the canvas. This gives you smooth color changes and rich backgrounds.
Let each layer dry before adding more paint. This keeps your colors clean and stops them from mixing too much. Practice on a scrap canvas first if you want to test your blending. Try using a hair dryer to speed up drying between layers. You can also combine these techniques for a unique look. A well-blended background makes your portrait look professional and helps your cat stand out.
Final Touches
Corrections
You have finished most of your cat portrait, but small mistakes can happen. Artists often use several techniques to make their paintings look their best. First, step back and look at your work from a distance. This helps you spot any areas that need fixing. If you see a mistake and the paint is still wet, gently scrape off the unwanted paint. For oil paint, you can use the tonking technique, which lifts off extra paint with paper. If the paint has dried, lightly sand the area with fine sandpaper. Clean the spot with a damp cloth to remove dust. Let it dry before you repaint.
When you repaint, use thin layers of titanium white to cover the mistake. Let each layer dry before adding another. This keeps the surface smooth and helps you match the original texture. Avoid rushing, as quick fixes can make the problem worse. Artists also use light and clarity adjustments to make the eyes and fur stand out. You can use color grading to set the mood of your portrait. Spot removal tools help clean up dust or small marks. Selective sharpening makes the eyes, whiskers, and paw pads crisp and clear.
Many artists finish by spraying a professional matte fixative over the painting. This protects your portrait, removes fingerprints, and gives the surface a soft sheen.
Signing
Signing your artwork shows that you made it and adds value to your portrait. You have several ways to sign your painting. Most artists use a traditional signature in the bottom right corner. Make sure your signature is clear and always looks the same. Use a permanent marker or paint for best results. Some artists use laser engraving on the back of panels for a tamper-proof signature. If you make prints, sign and number each one to show it is unique.
Method |
Description |
Benefit |
|---|---|---|
Traditional Signature |
Sign in the corner with a permanent medium. |
Shows identity and adds value. |
Laser Engraving |
Engrave signature on the back for durability. |
Tamper-proof and professional. |
Signing Prints |
Sign and number limited editions with ink or pencil. |
Increases uniqueness and authenticity. |
Tip: Sign your portrait after it dries. Leave space for framing so your signature stays visible. Use a straight edge if you want a neat line.
Display and Care
Framing
Picking the right frame makes your cat painting look great. It also helps your artwork last longer. Match the frame style to your painting. For pencil drawings, use a plain frame in a neutral color. Put the drawing under glass with a mat. The mat keeps the glass off the paper. For oil paintings, choose a swept, float, or classic frame. Do not put glass over oil paintings. The canvas needs air to stay in good shape.
Here is a quick framing guide:
Aspect |
Pencil Drawings |
Oil Paintings |
|---|---|---|
Framing |
Under glass with mat |
No glass |
Frame Style |
Simple, neutral tones |
Swept, float, or traditional |
Glass Protection |
UV-protective glass |
Not needed |
Mounting |
Acid-free mat |
Not required |
Hang your framed portrait away from sunlight and damp places. This keeps the colors bright and stops damage.
Always use both hands when you move your framed art. Hold the frame, not the picture itself. Use strong hanging hardware for extra safety.
Preservation
Caring for your cat painting keeps it looking nice for a long time. Keep the room at about 68°F and 55% humidity. This protects both canvas and paper. Do not hang your painting in bathrooms, near heaters, or on wet walls.
Try these tips to keep your painting safe:
Wear white cotton gloves when you move your painting.
Dust the surface gently with a soft brush.
Store paintings with covers made of cotton sheets.
Use foam corner protectors when moving or storing frames.
Preservation Aspect |
Recommended Technique |
Benefit |
|---|---|---|
Light Exposure |
Avoid direct sunlight; use UV glass |
Prevents fading and cracking |
Handling |
Gloves and hold by frame |
Stops oils and dirt from damaging art |
Storage |
Cotton sheets or foam pouches |
Prevents mold and physical damage |
Canvas Maintenance |
Archival Tight'n'Up spray for loose canvas |
Restores tension safely |
If your painting needs big cleaning or repair, ask a professional restorer. This keeps your artwork safe and valuable.
Guide to Commission Custom Pet Portrait
Getting a custom pet portrait is a special way to remember your pet forever. This guide will help you pick the right artist and explain each step. You can choose a hand-painted artwork, a digital pet portrait, or even a 3D piece. There are many ways to celebrate your furry friend.
Choosing an Artist
Picking the right artist is the first thing you need to do. You want someone who can show your pet’s personality in the portrait. Here are some things to think about:
Give the artist clear, high-quality photos of your pet. This helps them see all the details and make the portrait look real.
Decide what size you want for your portrait. Think about where you will put it and how much you want to spend.
Choose a medium that fits your pet’s style. You can pick oil, watercolor, digital pet portrait, or 3D wool felt.
Find an artist who asks about your bond with your pet. This means they care about making your portrait special.
Look at the artist’s past work. Make sure you like their style.
See if the artist will make changes if you ask.
Think about how long it will take and how good the art will be.
Make sure you know the price, including extra costs for framing or shipping.
You can find many artists online, but Pawimprint is a trusted choice for custom pet portrait commissions. Pawimprint has lots of styles and products, like 3D glass portraits, wool felt frames, and stuffed animal clones. Each piece is made with care to show your pet’s spirit. You can add your pet’s name, a quote, or even real fur to your portrait. Pawimprint pays close attention to details and wants every customer to be happy. That is why many people choose them for custom pet portrait artwork.
Tip: Always ask to see the artist’s past work before you order. This helps you feel sure about your choice.
The Process
The next part of the guide explains how the process works. The steps are easy and help you get a portrait you will love.
Pick your favorite photo of your pet and send it to the artist.
The artist makes a sketch or mock-up for you to check. You can ask for changes to the look or details.
Pay a deposit to save your spot with the artist.
You might get a private client portal. Here, you can see updates, photos, and videos as your portrait is made.
The artist works on your portrait and shares updates. You can ask for changes if you need them.
Look at the finished portrait. Say yes or ask for small fixes.
The artist packs your portrait carefully and ships it to you, often in a nice box with tracking.
Pawimprint makes the process personal and keeps you involved. You can choose from many products, like 3D glass, wool felt, or stuffed animal clones. Every item is handmade with care, so your commission custom pet portrait is a real keepsake.
Pawimprint’s portraits are more than just pictures. They use special methods, like burning images onto wood, to make lasting tributes. You can add your pet’s name, a funny quote, or their paw print. Each portrait has the phrase, “Best Friends come into our lives and leave paw prints on our hearts,” to make it a true memorial.
Production and shipping times are different for each provider. Handmade portraits from Pawimprint usually take 2-3 months to make, plus shipping time. This careful process makes sure you get a beautiful portrait that honors your pet. Here is a table comparing production and shipping times for different providers:
Provider |
Production Time (Design & Mockup) |
Shipping Time (by Location) |
Notes on Options |
|---|---|---|---|
Print Our Pet |
USA: 4-6 business days |
'FIRST IN LINE' speeds production only, not shipping |
|
Canada: 8-10 business days |
New photo requests increase production time |
||
UK: 4-6 business days |
Cannot ship to Military addresses |
||
Australia: 10-12 business days |
Tracking number sent within 3-5 business days |

Most of the time, standard shipping is included in the price. Some providers let you pay extra for faster shipping. Pawimprint ships worldwide, so you can get custom pet portrait artwork no matter where you live.
Note: A custom pet portrait is more than just a picture. It is a way to remember your pet and keep them close. The time and care in each commission make it a special keepsake.
If you follow this guide, you can order custom pet portrait artwork with confidence. You will enjoy the process, stay involved, and get a portrait that honors your pet. Whether you pick a digital pet portrait, a hand-painted artwork, or a 3D creation, you will have a unique piece that tells your pet’s story. This guide helps you make good choices and makes sure your finished portrait becomes a special part of your home.
Take some time to enjoy your finished pet portrait or your commission custom pet portrait. Each brushstroke helps you learn and makes you better at art. You get closer to showing what makes your pets special. When you show your artwork to others, you help them feel creative too. You also make new friends. Some artists hang their portraits in local shops or join events in the community. This can help shelter animals and bring people together. Try new ways to make or order pet portraits. Every portrait you create or commission shares a story and makes someone happy.
FAQ
How do I choose the right photo for my cat painting?
Pick a photo with good lighting and clear details. Make sure your cat’s eyes are sharp and the pose feels natural. Use a high-resolution image for the best results.
What materials work best for beginners?
Start with a pre-stretched cotton canvas and gouache paints. Use a mix of flat, round, and detail brushes. These tools help you learn basic techniques and make painting easier.
Can I use digital tools to help with my painting?
Yes! You can use photo editing apps to adjust brightness or crop your reference photo. Some artists use tablets to sketch before painting on canvas.
How long does a custom pet portrait from Pawimprint take?
Pawimprint usually takes 2-3 months to create a handmade portrait. Shipping time depends on your location. You receive updates and can request changes during the process.
How do I care for my finished cat painting?
Hang your painting away from direct sunlight and moisture. Dust it gently with a soft brush. Use a frame for extra protection. If you see damage, ask a professional for help.