Pawimprint Simple Needle Felting Crafts Every Beginner Can Try
Needle felting welcomes everyone, even if you have never tried crafts before. You can start this hobby with just a few tools and some wool. Many beginners love how easy it is to follow step-by-step kits, which makes learning how to do needle felting stress-free. At Pawimprint, you find handmade pet keepsakes that capture your pet’s spirit with warmth and detail. Enjoy the process, let your creativity shine, and remember—each project is special, no matter how it turns out.
Key Takeaways
You can start needle felting with just a few tools. You need felting needles, a foam pad, and wool. Beginner kits are simple and not expensive.
Pick soft wool that is easy to felt, like Merino or Corriedale. This helps you get smooth results and more control.
Learn easy steps: poke the wool up and down on the foam pad. Build shapes slowly. Add small details with thinner needles.
Try easy projects first, like simple shapes or small animals. You can also make holiday ornaments. These help you practice and finish fast.
Always keep your fingers safe with gloves or guards. Work on a soft surface. Take your time so you do not make mistakes. Enjoy making crafts.
Beginners: Getting Started
Essential Tools
Starting needle felting feels exciting when you have the right tools. You do not need a lot to begin. Most beginners use:
2 or 3 medium-gauge felting needles (these can break, so extras help)
A felting mat, like a foam pad or brush, to protect your table and your needles
Wool, which you will shape into your project
An idea for a simple project, like a ball or animal mini
You might see other tools, such as ball-headed pins, rulers, or scissors. These are helpful but not required for your first projects. Many beginners start with an easy needle felting kit, which includes all the basics. These kits usually cost between $7 and $16, so you can try the craft without spending much.
Tip: Start small! You can always add more tools as you learn what you like.
Choosing Wool
Picking the right wool makes easy needle felting even more fun. Some types of wool work better for beginners. Here’s a quick guide:
Wool Type |
Why It’s Good for Beginners |
|---|---|
Soft, felts evenly, great for details |
|
Corriedale Wool |
Firm, felts quickly, good for sturdy shapes |
Shetland Wool |
Soft, natural colors, easy to use |
Blends |
Mix of softness and strength |
Carded wool, like batts or slivers, helps you get a smooth finish. Always look for mulesing-free wool for ethical reasons. Pawimprint uses pure, high-quality wool in every needle felting kit, so you get great results.
Sourcing Kits
You can find beginner needle felting kits online or in craft stores. Some popular sources include Weir Crafts, Living Felt, and The Felted Ewe. These kits often come with a variety of wool colors, several needles, and a sturdy mat. High-quality kits include soft wool, extra needles, and clear instructions. Pawimprint’s kits stand out because they use premium materials and offer step-by-step guidance, making them perfect for beginners.
Look for kits with positive reviews and clear instructions. This helps you enjoy your first projects and build confidence.
How to Do Needle Felting
Basic Techniques
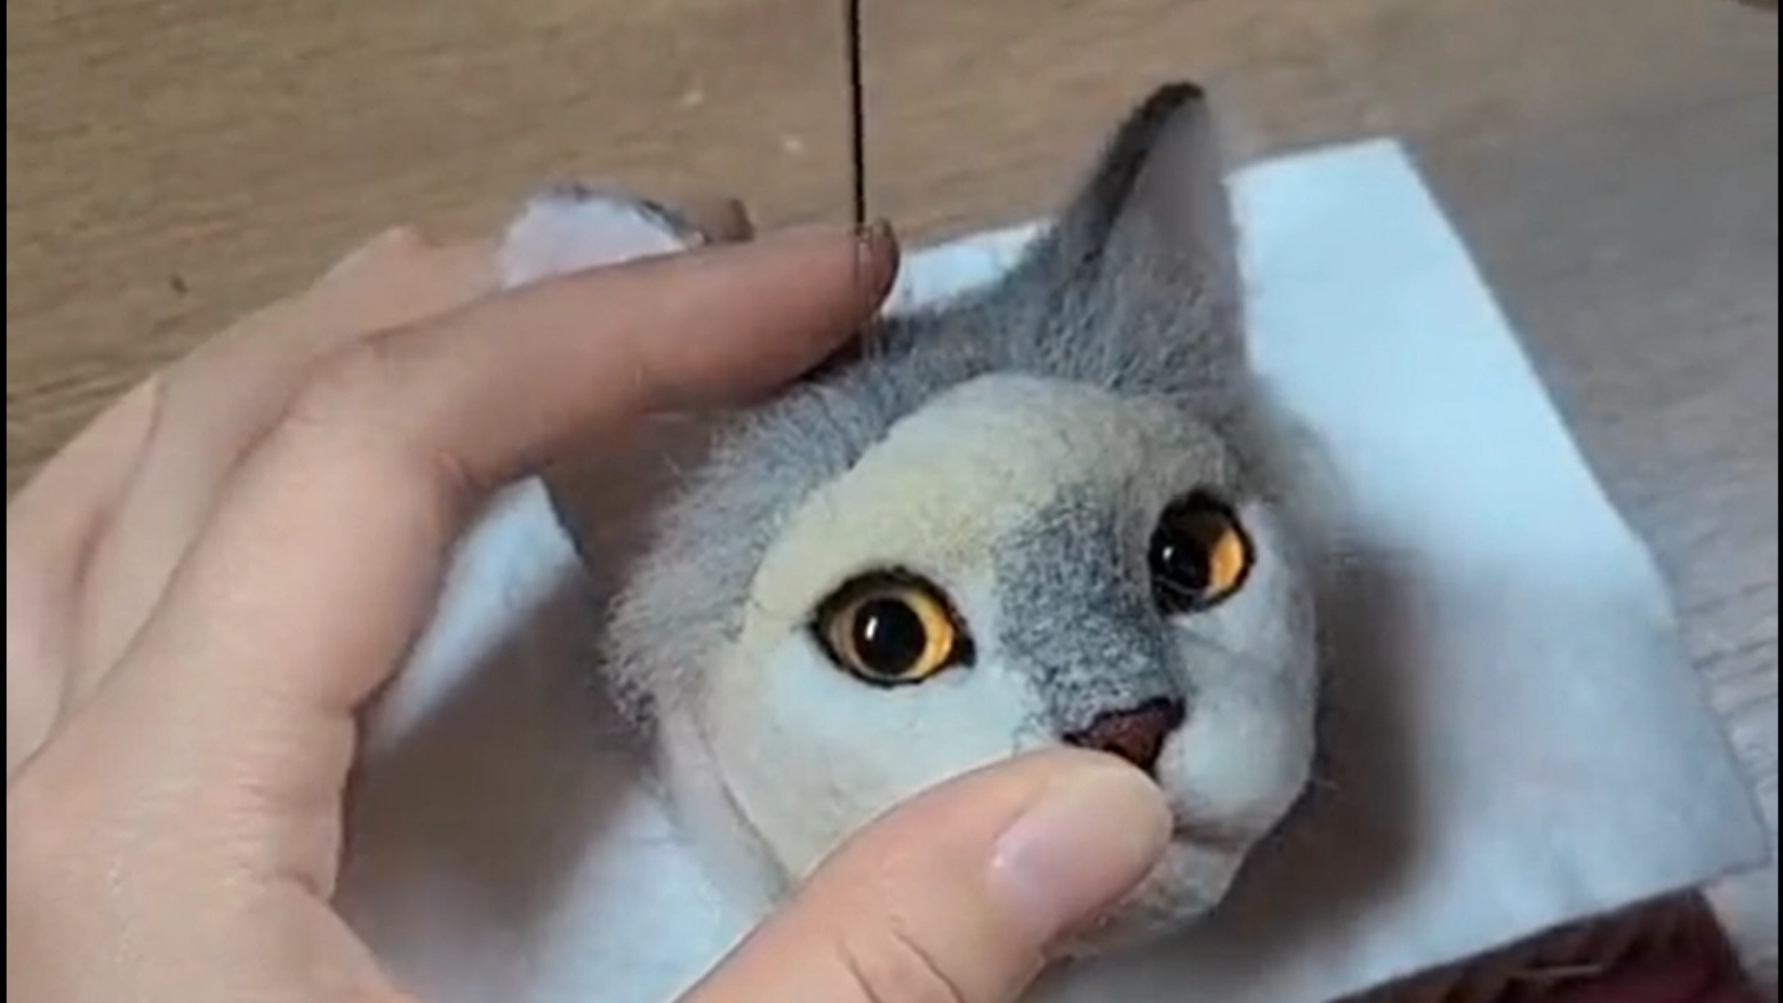
Learning how to do needle felting starts with a few simple moves. You only need wool, a felting needle, and a foam pad. Place your wool on the pad. Hold your needle straight up and down. Gently poke the wool with the needle. This action tangles the fibers and makes the wool firm. Always stab the needle straight in and out. If you angle the needle, it can break. Take your time and use small, gentle pokes.
Tip: Tear your wool by hand instead of cutting it. This helps the fibers blend better.
Here are some basics to remember when you want to know how to do needle felting:
Use a straight up-and-down motion with your needle.
Work on a foam pad to protect your table and your fingers.
Start with small amounts of wool and build up layers.
Practice patience. Rushing can lead to mistakes or broken needles.
Shaping Wool
Shaping is a big part of how to do needle felting. You can make flat shapes or 3D forms. To start, pull apart your wool to make thin layers. If you want a perfect circle or heart, use a cookie cutter as a guide. Place the wool inside the cutter and poke it until it holds its shape. Flip the wool and felt both sides. For 3D shapes, roll the wool into a ball or oval. Keep poking all around until it feels firm and smooth. Add more wool if you want a bigger shape.
Shaping Tip |
Why It Helps |
|---|---|
Use small wool amounts |
Easier to control and shape |
Layer wool gradually |
Builds strong, even shapes |
Pinch and roll as you felt |
Refines the form and smooths edges |
Attaching Details
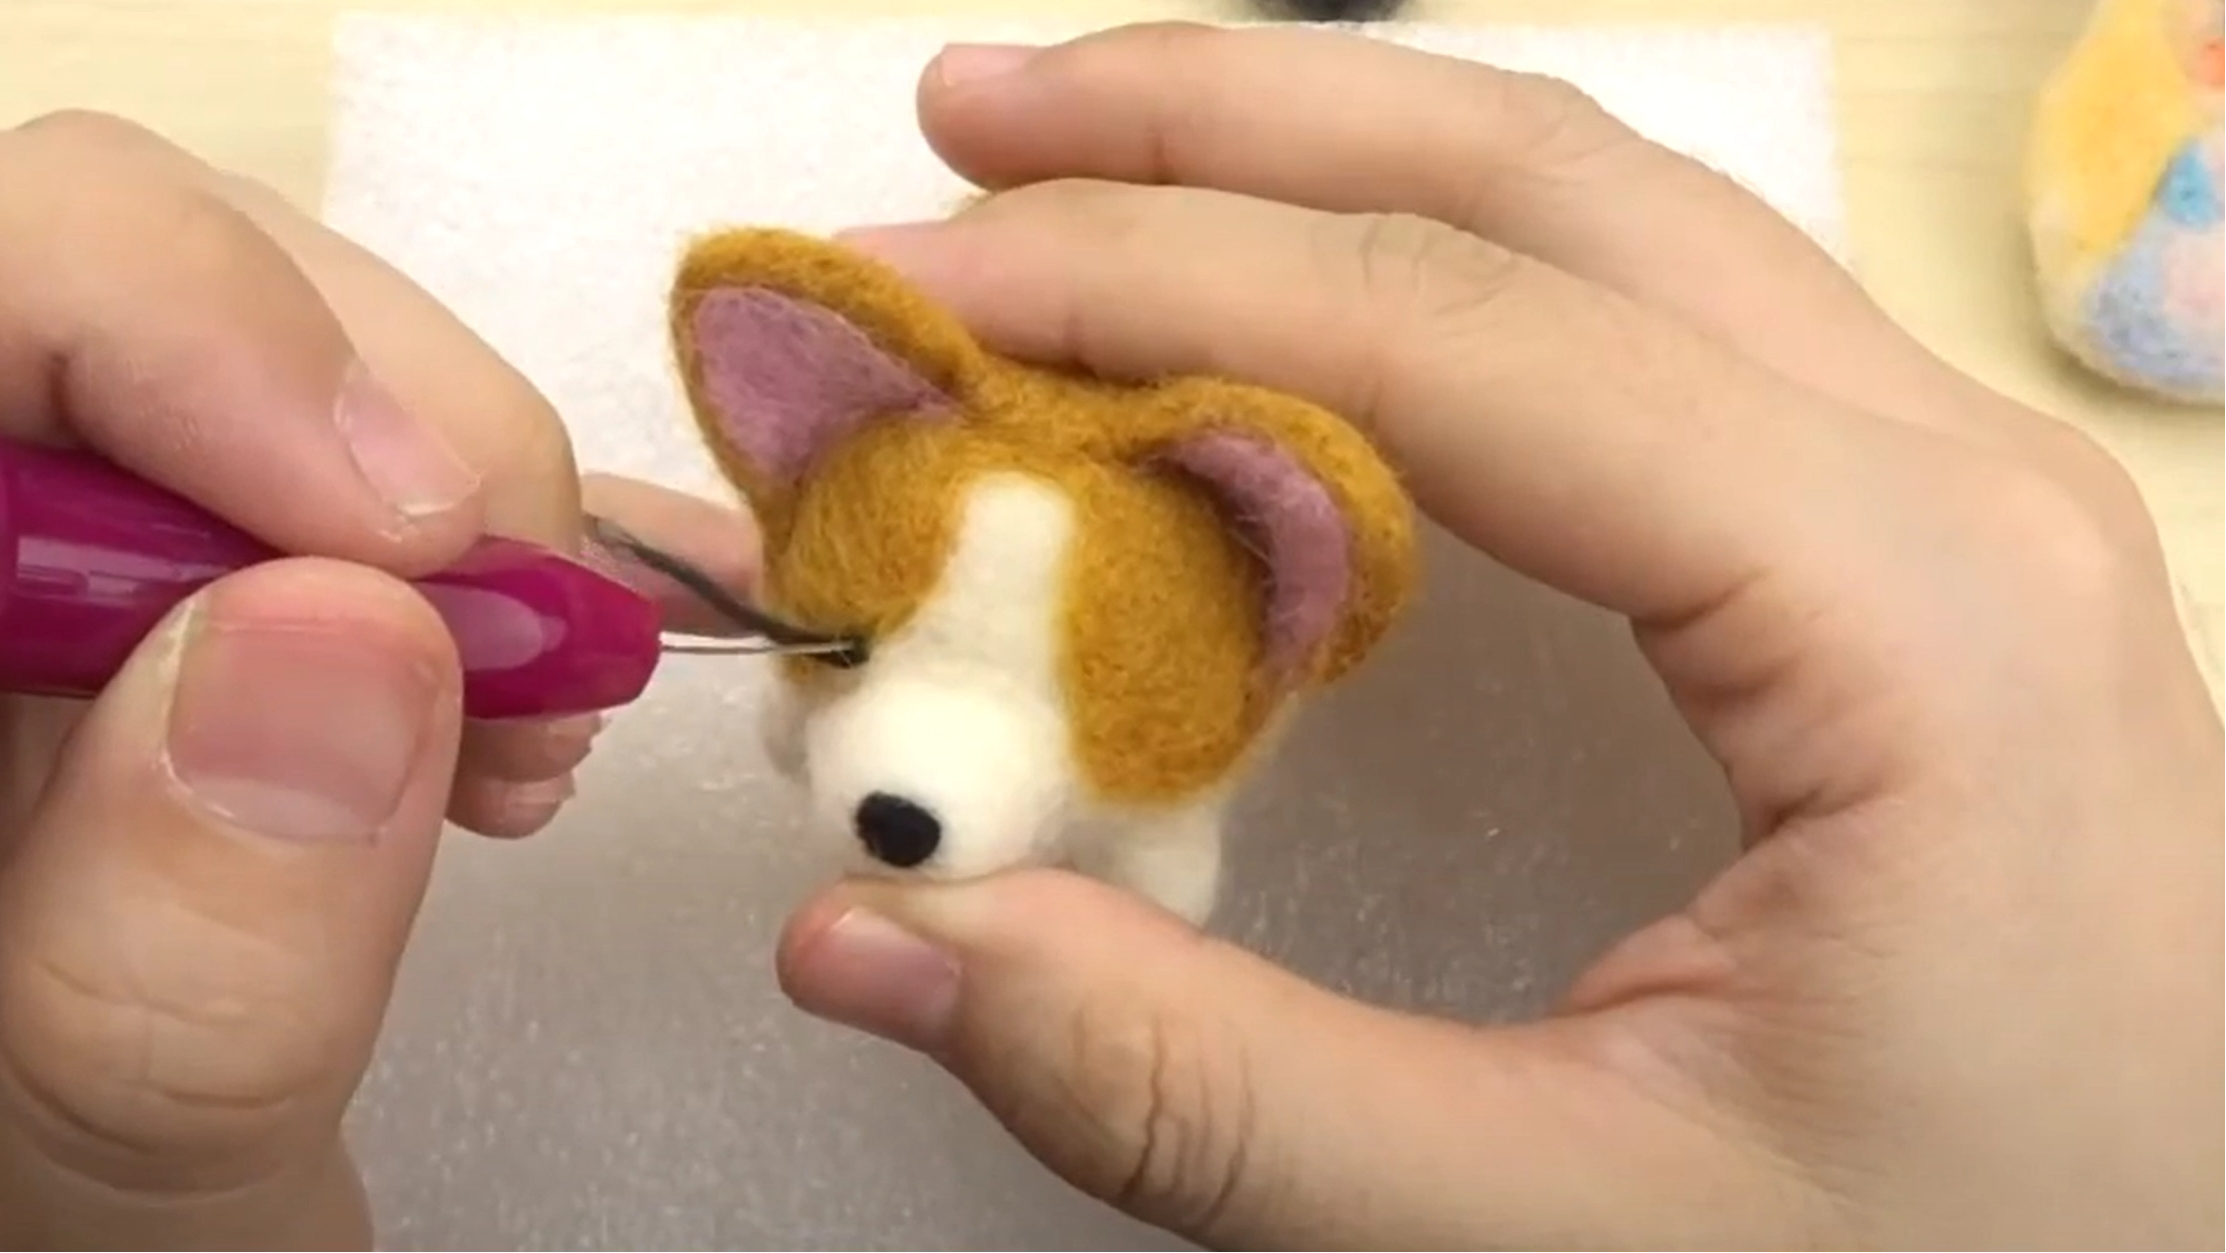
Adding details is where your project comes to life. This is another key part of how to do needle felting. To make ears, noses, or other features, shape small pieces of wool first. Leave the edges loose. Place the detail on your main shape. Use your needle to poke the loose edges into the base. This joins the fibers and holds the detail in place. Always use a finer needle for small parts. Take your time and check your work as you go.
Note: Keep your fingers away from the needle tip. Finger guards can help you stay safe.
If you ever wonder how to do needle felting with more colors, just layer different shades of wool and felt them together. You can blend colors or add spots and stripes for fun effects. Remember, every project is unique. Enjoy the process and celebrate your progress!
Beginner Needle Felting Projects
Ready to dive in? You can try so many fun needle felting projects as a beginner. These ideas help you practice basic skills and create something cute or useful. Most projects take about 1 to 2 hours, so you can finish them in an afternoon. Here are some of the best beginner-friendly projects to get you started.
Simple Shapes
Simple shapes make great first projects. You can make balls, eggs, hearts, or stars. These shapes teach you how to control wool and use your needle safely.
Materials:
Felting mat or foam pad
Cookie cutters (optional for hearts and stars)
Steps:
Pull off a small amount of wool.
Roll it into a loose ball or stuff it into a cookie cutter.
Place the wool on your mat.
Poke the wool with your needle, turning as you go.
Keep felting until the shape feels firm and smooth.
Tip: Use cookie cutters for hearts, stars, or leaves. This helps you get even shapes every time.
Estimated Time:
Project Type |
Estimated Time |
|---|---|
Felted Ball |
20-30 minutes |
Simple Ornament (star, heart) |
~45 minutes |
Animal Minis
Animal minis are some of the most popular needle felting projects for beginners. You can make tiny sheep, penguins, or even a mini version of your own pet! These little animals are adorable and make perfect gifts or keepsakes.
Why are animal minis so loved?
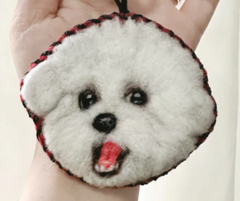
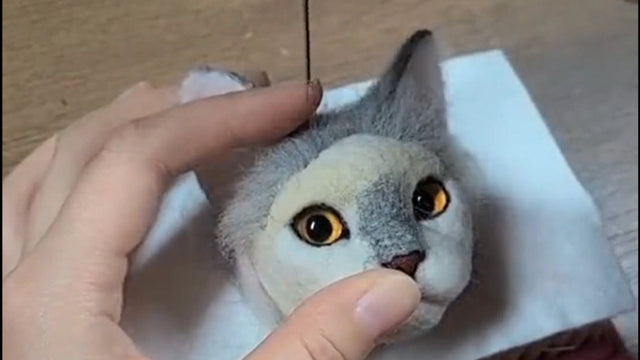
People feel a strong bond with their pets. When you create a felted animal, you capture that special connection. Pawimprint specializes in lifelike pet miniatures, so you can even try making a mini version of your furry friend.
Popular Animal Minis:
Sheep 🐑
Penguin 🐧
Chickens 🐔
Snowman ⛄
Bunny 🐇
Materials:
High-quality wool (Corriedale or Merino)
Felting needles (medium and fine)
Felting mat
Small bits of colored wool for details
Steps:
Shape the body with a ball or oval of wool.
Felt until firm.
Add smaller shapes for heads, ears, or wings.
Attach details like eyes, beaks, or tails with a finer needle.
Note: Animal minis can take 1 to 2 hours. Take your time and enjoy the process!
Food Miniatures
Food miniatures are cute and fun to make. You can create tiny pumpkins, strawberries, or even a felted donut. These projects help you practice shaping and color blending.
Materials:
Wool in different colors (orange for pumpkins, red for strawberries)
Felting needle
Felting mat
Steps:
Roll wool into a ball or oval for the base.
Felt until the shape is firm.
Add colored wool for details like leaves or sprinkles.
Use your needle to blend and attach the details.
Try making a pumpkin in the fall or a strawberry in the summer!
Ornaments & Charms
Ornaments and charms let you show off your creations. You can hang them on a tree, backpack, or keychain. Beginners love making stars, hearts, and simple animal faces.
Common Ornaments:
Felted balls with ribbon hangers
Stars and hearts made with cookie cutters
Materials:
Wool in your favorite colors
Felting needle
Felting mat
Ribbon or string for hanging
Small beads or embroidery thread (optional for sparkle)
Steps:
Make a small ball or flat shape.
Decorate with colored wool, beads, or thread.
Attach a ribbon or string to turn it into an ornament or charm.
Many beginner kits include everything you need for these projects.
Seasonal Projects
Seasonal needle felting projects add a festive touch to your home. You can make snowmen for winter, pumpkins for fall, or chicks for spring. These projects are beginner-friendly and always in style.
Popular Seasonal Projects:
Snowman
Pumpkin
Sheep
Penguin
Chicken
Materials:
White, orange, black, and colored wool
Felting needles
Felting mat
Extra wool for scarves, hats, or other details
Steps:
Shape the main body (like a ball for a snowman or pumpkin).
Felt until firm.
Add details such as hats, scarves, or faces.
Attach all parts securely.
Seasonal projects often take 2 to 3 hours, especially if you add lots of details.
Here’s a quick look at how long these projects usually take:
Project Type |
Estimated Time |
Notes |
|---|---|---|
Felted Coaster |
20-30 minutes |
Quick, simple flat project |
Simple Ornament (star, heart) |
~45 minutes |
Beginner-friendly, small decorative items |
Mini Figure (basic toy) |
Under 1 hour |
Basic shapes like wool balls with minimal details |
Small Felted Animal |
1-2 hours |
Example: small bunny with Merino wool, shaping and detailing |
Felted Jewelry (brooch) |
About 90 minutes |
Using pre-felted wool sheets, adding texture |
Holiday Decoration |
2-3 hours |
More detailed seasonal items like pumpkins or snowmen |
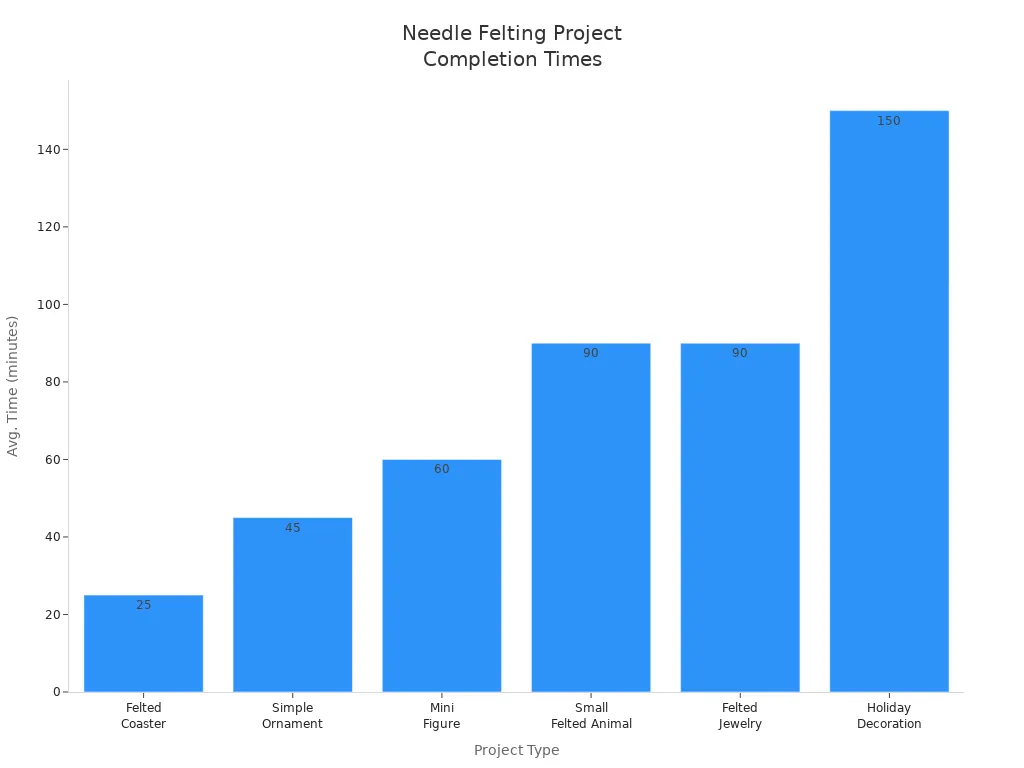
Most beginner needle felting projects use high-quality natural wool, felting needles, and a mat. Short-fiber sheep’s wool is easy to shape and blend, making it perfect for learning. You can finish many projects in just a couple of hours, so you see results fast!
If you want to try something extra special, look at Pawimprint’s custom pet miniatures. You can create a tiny version of your own pet or get inspired by their lifelike felted animals. These keepsakes make wonderful gifts and help you celebrate the pets you love.
Tips for Beginners
Safety
Needle felting is fun, but you want to keep your fingers safe! Here are some simple ways to avoid accidents:
Wear a leather glove or finger protectors on the hand holding your wool. This helps prevent needle pricks.
Always use a felting mat or foam pad under your project. It protects your table and your hands.
Try a needle holder or a tool with a grip. This gives you better control and keeps your fingers away from the sharp end.
Keep your workspace tidy. A clean area helps you focus and avoid losing sharp needles.
Store needles in a safe container when you finish. Keep them away from kids and pets.
Take breaks to rest your hands and eyes. This keeps you comfortable and alert.
Tip: If you don’t like gloves, use bamboo skewers or a small stick to hold tiny pieces of wool.
Common Mistakes
Every beginner makes mistakes. That’s how you learn! Here are some things to watch out for:
Mistake |
How to Avoid It |
|---|---|
Use short, gentle pokes |
|
Using too much wool |
Start with less and add more as needed |
Choosing the wrong needle |
Match needle size to your wool type |
Rushing the process |
Take your time and enjoy each step |
Not using a mat |
Always felt on a soft surface |
Remember, patience pays off. Needle felting takes practice, but you’ll get better with each project.
Quick Fixes
If something goes wrong, don’t worry! You can fix most problems quickly:
Add a little more wool if your shape looks thin or uneven.
Remove extra wool by gently pulling it off and reshaping.
If you poke a hole, cover it with a small patch of wool and felt it in.
Use the right needle for your wool—smaller needles for fine wool, larger for coarse.
If you get frustrated, take a break and come back with fresh eyes.
Most beginners find that wool is very forgiving. You can always reshape, add, or remove wool until you’re happy with your project.
Next Steps in Needle Felting
Advancing Skills
You’ve finished your first few projects. Now you want to level up your needle felting skills. That’s exciting! You can make your creations look smoother and more detailed with just a few changes to your routine.
Try using a wool felting cushion instead of a foam pad. It lasts longer and gives you a better surface.
Pick the right needle for your project. A needle holder can make felting more comfortable, especially for bigger pieces.
Experiment with different types of wool. Romney and Icelandic wool work well for advanced projects. Avoid superwash wool because it doesn’t felt easily.
Spend extra time felting each piece. The more you poke, the firmer and smoother your sculpture becomes. Patience really pays off.
Use wire only when you need to add structure, like for long legs or tails.
Attach details like glass eyes with a needle and thread for a secure finish.
Mix in wet felting techniques. Add a little soap and water to make surfaces even smoother.
Tip: Practice makes progress. The more you felt, the more confident you’ll feel with each new project.
If you want step-by-step lessons, you can join online academies like Bear Creek Needle Felting Academy. These offer video guides and expert tips to help you master new techniques.
Finding Inspiration
You don’t have to create alone. Many needle felters join online communities to share ideas, get feedback, and find new project ideas. The Facebook group “Needle Felting Group” is a great place to start. Members post tutorials, tips, and photos of their work. You’ll find lots of encouragement and advice.
Woolbuddy is another fun website. It offers kits, forums, and even local meetups. You can connect with other crafters, ask questions, and show off your creations.
-
Online communities help you:
Meet new friends who love felting
Get feedback and support
Learn new tricks and techniques
Stay motivated and inspired
Being part of a creative group helps you grow your skills and keeps your ideas fresh.
For even more inspiration, check out Pawimprint’s custom pet keepsakes. Their lifelike felted animals and portraits can spark ideas for your next project. You might even try making a mini version of your own pet!
You can start your first needle felting project today and enjoy every step. Each piece you make has its own charm and tells your story. Many beginners feel inspired when they see others’ creations online:
Some people try needle felting after seeing shared projects.
Others find new ideas and dive deeper into the craft.
Many focus on learning and having fun, not just the final result.
Explore more tutorials or check out Pawimprint’s custom pet keepsakes for fresh ideas. Share your journey—you might inspire someone else! 🐾
FAQ
How long does it take to finish a beginner needle felting project?
Most beginner projects take one to two hours. You can finish simple shapes in less than an hour. If you add details, you might need more time. Take breaks and enjoy the process!
Can I use any kind of wool for needle felting?
You should use wool that felts easily, like Merino or Corriedale. Some wool blends work well, too. Avoid superwash wool because it does not felt. Pawimprint uses high-quality wool for best results.
What should I do if I break a felting needle?
Don’t worry! Broken needles are common. Replace it with a new one. Always keep extra needles nearby. Try to poke straight up and down to avoid breaking them.
Is needle felting safe for kids?
Kids can try needle felting with adult supervision. The needles are sharp, so finger guards help. Start with simple projects. Always use a felting mat to protect hands and tables.
Can I make a felted version of my pet?
Yes! You can create a mini felted pet using photos for reference. Pawimprint offers custom pet keepsakes if you want a lifelike result. These make great gifts and special memories. 🐾
