
What Tools and Materials Do You Need for Needle Felting
Welcome to the world of needle felting! If you’re a beginner, you might wonder what essential items you need to get started. You only need a few basic instructions, some wool, and the right tools and supplies. Most beginners use felting needles, wool, and a felting mat. Many starter kits cost around $25 to $30 and come with simple instructions. Needle felting is creative, fun, and easy for beginners. Once you gather your materials, you’ll quickly learn how to do needle felting.
Key Takeaways
Begin needle felting with simple tools. You need felting needles, wool like Corriedale or Romney, and a felting mat to keep your table safe.
Always poke the needles straight up and down. This helps stop them from breaking. Use finger protectors to keep your fingers safe.
Keep your tools and wool in boxes or containers. Use a beginner kit with good needles and easy instructions. This makes learning fun and simple.
How to Do Needle Felting
Needle felting is a hands-on craft that lets you turn soft wool into cute animals, decorations, or even custom pet portraits. If you’re new to this hobby, you might wonder how to do needle felting and what you need to get started. This section will walk you through the main tools and materials, with tips and easy needle felting tutorials for beginners.
Felting Needles
Felting needles are the most important tool in any needle felting tutorial. These special needles have tiny barbs along the shaft. When you poke them into wool, the barbs catch the fibers and tangle them together. This is how you shape and firm up your wool creations.
There are different types and sizes of felting needles. The size is called the gauge. Lower numbers mean thicker, coarser needles, while higher numbers are thinner and better for details. Here’s a quick guide:
Gauge |
Description |
Best Use for Beginners |
|---|---|---|
Thick, coarse |
Fast shaping, rough work |
|
36 |
Coarse |
Starting shapes, base layers |
38 |
Medium |
Most projects, layering color |
40 |
Fine |
Details, smooth finishing |
42 |
Very fine |
Final touches, delicate work |
You’ll also find different shapes, like triangle, star, and spiral. Triangle needles are common in most easy needle felting tutorials. Star needles felt faster because they have more edges. For beginners, a starter set with 36 triangle, 38 star, and 40 star needles covers most needs.
Tip: Always poke the needle straight up and down. This keeps the needle from bending or breaking. Keep extra felting needles on hand, as they can snap if used sideways.
Popular brands for beginners include Ashford, Woolpets, and A Child’s Dream. These brands offer reliable felting needles that work well for most projects.
Wool
Wool is the main material in every needle felting tutorial. You’ll see terms like wool roving, felting wool, and carded wool. Roving is long, fluffy wool that pulls apart easily. Batts are thick sheets of mixed fibers. Both are great for beginners.
Different types of wool give different results. Here are some common choices:
Corriedale wool: Easy to felt, holds shape well, perfect for learning how to do needle felting.
Romney wool: Durable and soft, felts into a firm, plush surface. Great for animals and figures.
Merino wool: Very soft and fine, best for smooth finishes and soft coats.
Core wool: Cheaper, used inside larger projects to save on cost.
For most easy needle felting tutorials, start with Corriedale or Romney. These types felt quickly and are forgiving for beginners. Use merino wool for the outer layer if you want a soft, smooth look.
Note: Avoid Superwash wool. It’s treated to resist felting and won’t work for needle felting projects.
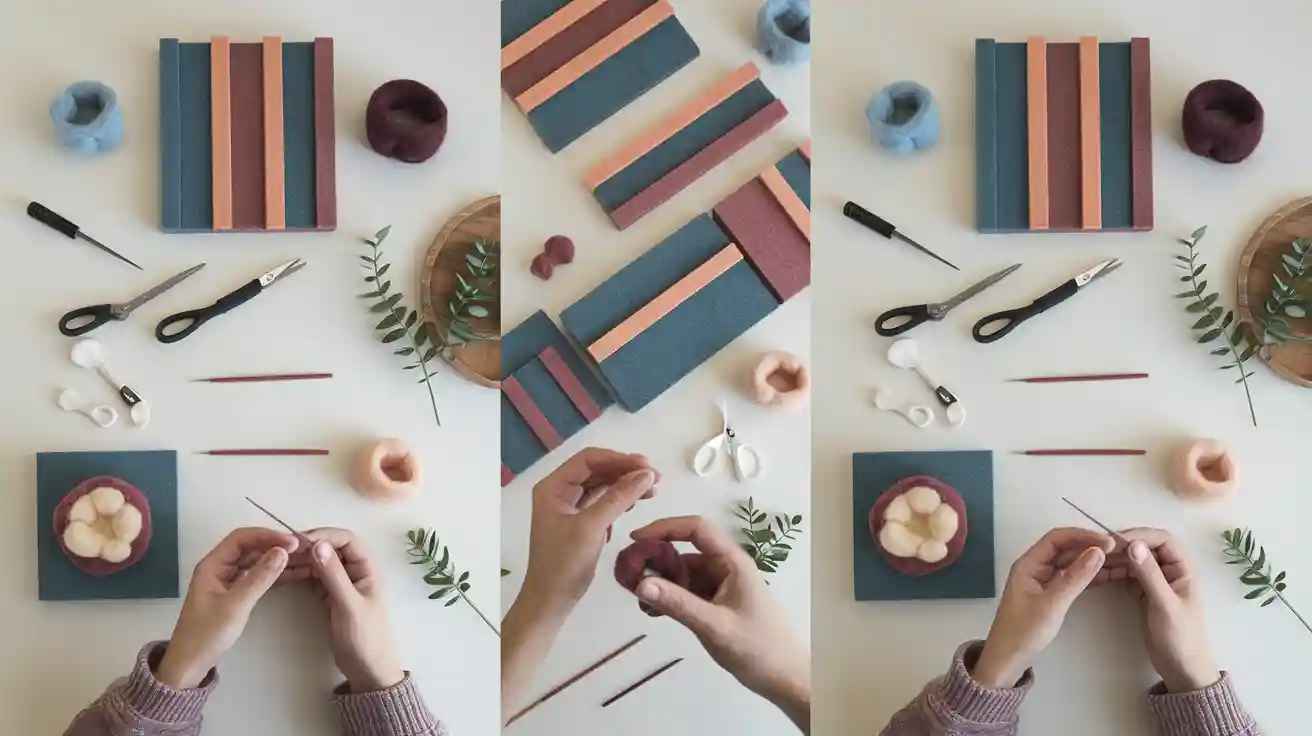
How to Use Wool in Needle Felting
Tear off a piece of wool roving—no scissors needed.
Roll the roving into a ball, tucking in the ends.
Place it on your felting mat and poke with your felting needle, straight up and down.
Keep poking until the wool shrinks and firms up.
You can also use cookie cutters for flat shapes. Place a thin layer of wool inside the cutter, poke with your needle, then flip and repeat until it holds together.
Felting Surface
A good felting surface protects your table and your felting needles. It also helps you get better results in your needle felting projects. The most common surfaces are:
Foam pads: Soft, affordable, and easy to find. Great for beginners. They cushion your needle and protect your workspace. Foam pads wear out over time but work well for most tutorials.
Wool mats: Durable and eco-friendly. They last longer and feel natural under your project.
Brush mats: Have bristles that hold wool in place. Good for detailed work but can be tricky for beginners.
Surface Type |
Pros |
Cons |
|---|---|---|
Cheap, portable, soft |
Wears out, wool may stick |
|
Wool Mat |
Durable, eco-friendly |
Higher cost |
Brush Mat |
Good for detail |
Small area, needs cleaning |
A felting mat should be at least 1.5 to 2 inches thick. This keeps your needles from breaking and your table safe. For most easy needle felting tutorials, a foam pad is a great place to start.
Tip: Always use a felting mat or pad. Never work directly on a hard surface. This keeps your felting needles sharp and your fingers safe.
Accessories
Accessories make needle felting safer and more fun. Here are some helpful extras:
Finger protectors: These guard your fingers from sharp needle pricks. Many beginners use them, especially for small projects.
Wire armatures: Thin wire inside your project adds structure and lets you pose your creations. Start with simple wire for basic shapes. Advanced tutorials use posable armature kits for lifelike movement.
Scissors: Use sharp scissors to trim wool and shape your project.
Needle holders: These help you grip the needle better and reduce hand strain.
Storage containers: Keep your felting needles, wool, and tools organized and safe.
Safety Note: Always keep your workspace tidy. Store felting needles in a container. Take breaks to rest your hands and eyes.
If you want to try advanced or custom needle felting projects, check out Pawimprint. They use high-quality felting wool, special tools, and advanced techniques to create lifelike 3D pet portraits and memorials. Their work shows how creative you can get with the right materials and tutorials.
Quick Safety Checklist for Beginners
Wear finger guards or gloves.
Always poke needles straight up and down.
Use a felting mat or pad.
Keep needles and small parts away from kids and pets.
Take breaks to avoid hand and eye strain.
Learning how to do needle felting is all about practice and patience. Most beginners finish their first small project in 1 to 3 hours. Start with simple shapes and follow step-by-step guides or easy needle felting tutorials. As you gain confidence, you can try more complex tutorials and add new tools to your collection.
Needle Felting Kit & Organization
Choosing a Needle Felting Kit
A needle felting kit gives you everything you need to start your first project. Most beginner kits include:
Felting needles (often a 38 gauge star needle, which works well for most projects)
A felting mat or foam pad to protect your table
Wool roving, usually Corriedale or a blend that is easy to felt
Finger guards for safety
Clear instructions or a simple project idea
When you pick a needle felting kit, look for one with enough wool for several tries. You want quality needles made from strong steel, not just a big set of cheap ones. Kits with a mix of needle sizes help you learn what works best. Avoid kits with too many extras you might not use. If you want to make 3D shapes, check that your kit has core wool for the inside.
Tip: A good kit makes learning fun and helps you avoid frustration. Choose a kit put together by someone who knows about wool and felting.
Storage Tips
Keeping your tools and supplies organized saves time and keeps your projects safe. Try these ideas:
Store wool in airtight containers to keep out moths and dust. Add a little lavender oil on a dryer ball for extra protection.
Use a portable caddy or crafting box to keep your felting needles, finger guards, and scissors together.
Organize needles in a needle book or small labeled tins. Magnetic strips or needle minders also help you keep track of sharp tools.
Keep finished projects in a special box or display case so they stay clean and easy to find.
A tidy workspace helps you focus and makes needle felting more enjoyable.
Where to Buy Supplies
You can find needle felting kits and tools at both online and local stores. Living Felt is a popular choice for buying supplies. They offer a wide range of kits, wool, felting needles, and even tutorials for beginners. Their online shop ships worldwide, and their physical store welcomes visitors. Many craft stores also carry beginner kits and basic tools and supplies. If you want to try advanced projects, look for specialty shops or artists who sell custom kits.
You only need a few basics to begin: wool, felting needles, a mat, and some patience. Many beginners feel unsure at first, but starting small helps.
Remember, mistakes are part of learning. Try new tools as you grow. Gather your supplies and enjoy creating something special today!
FAQ
What is the best wool for beginners?
Corriedale wool works great for beginners. It felts quickly and holds its shape. You can find it in most starter kits.
How do I keep my felting needles from breaking?
Always poke straight up and down. Don’t bend the needle. Use a thick felting mat. Keep extra needles handy just in case.
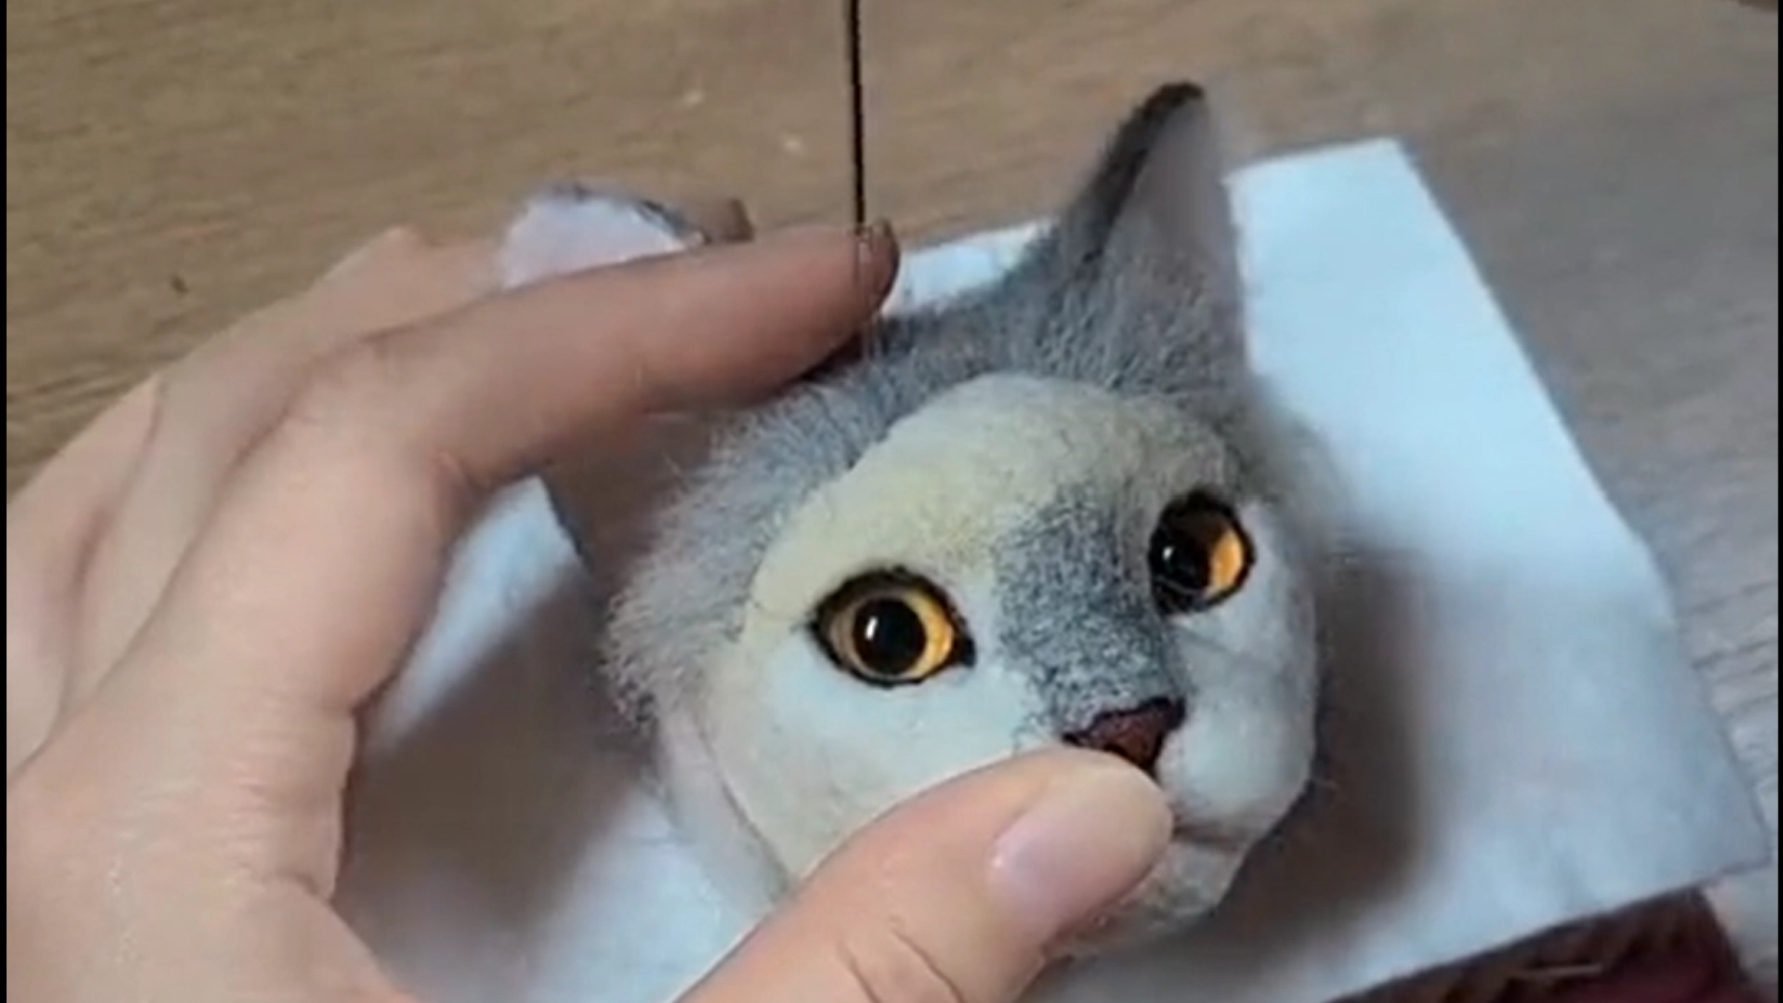
Can I make realistic pet portraits at home?
You can! Start with simple shapes. For lifelike results, check out custom artists like Pawimprint. They use advanced tools and pure wool for amazing detail.