
How Wool Felt Portraits Are Crafted by Hand

A wool felt portrait shows your pet’s special look with pure wool and careful needle felting. You can watch each piece of wool join together by hand. This makes the portrait look real. Many people keep a wool felt portrait as a memory or to remember their pet. When you pick a needle felted pet portrait, you show love for your pet in a unique way. Pawimprint makes these portraits with great care and detail. They can also frame your finished art. You can feel the warmth and skill in every wool felt piece.
Key Takeaways
Wool felt portraits are made by hand with soft wool. Artists use a special needle to shape and lock the fibers. This makes pet art that looks real.
Picking a clear photo of your pet helps the artist a lot. It lets them show what makes your pet special in the portrait.
Artists make the portrait in steps. First, they shape a wool base. Then, they add layers of color. They finish by adding small details like eyes and markings.
Mixing colors and shaping features carefully makes the portrait look real. It also gives the portrait depth.
When finished, you can frame the portrait or show it in other ways. These portraits are special keepsakes that honor your pet’s spirit.
Wool Felt Portrait Basics
What Is a Wool Felt Portrait
A wool felt portrait is a special piece of art that shows your pet’s face or body using only wool. You see each part come to life as an artist uses a needle to shape the wool. The process is called needle felting. You use a sharp, barbed needle to poke the wool again and again. This action makes the wool stick together. The tiny barbs on the needle catch the wool and pull it into place. You create shapes and details by repeating this motion. The result is a soft, lifelike portrait that captures your pet’s unique look.
Needle felting works because of interlocking wool fibers. When you poke the wool, the fibers tangle and hold tight. This makes the portrait strong and helps it keep its shape. You can see the texture and depth in every finished piece. Many people choose a wool felt portrait because it feels warm and personal.
Materials and Tools
You need the right materials and tools to make a high-quality wool felt portrait. Here are the basics:
Wool Roving: This is soft, clean wool that you use to build the portrait. Good wool gives you smooth lines and rich colors.
Felting Needles: These needles have tiny barbs that help you shape the wool. You use different sizes for big shapes and small details.
Base Fabric or Foam Pad: You need a surface to work on. A foam pad protects your needle and helps you control the wool.
Reference Photo: A clear photo of your pet helps you match the features and colors.
Pawimprint uses only premium wool and top-quality tools. You can even ask to include your pet’s real fur for a more personal touch. This makes your keepsake even more special. Pawimprint’s artists pay close attention to every detail, so your wool felt portrait looks just like your pet.
How to Make a Needle Felted Pet Portrait
Choosing a Reference Photo
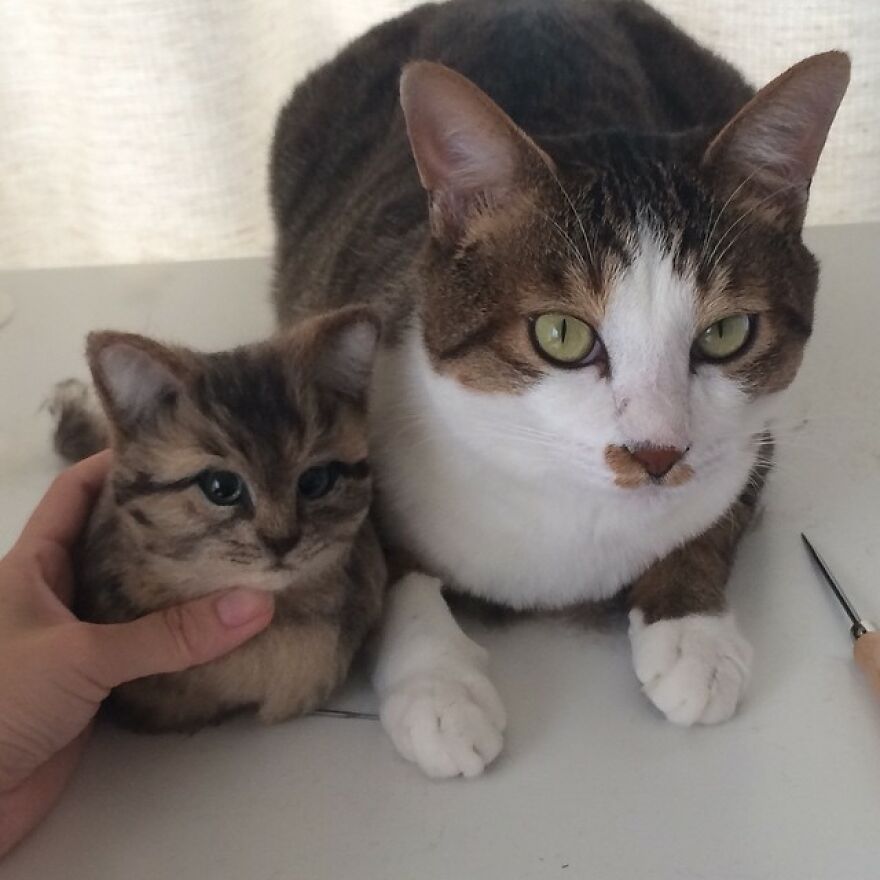
You start your needle felted pet portrait by picking a clear photo of your pet. The best photo shows your pet’s face and body in good light. You look for sharp images that show the eyes, fur color, and special markings. These features help you capture your pet’s personality. Pawimprint asks you to share your favorite photo. You can send more than one if you want to show different angles or expressions. The artists use these photos to match colors and shapes. You help guide the process by choosing the photo that means the most to you.
Tip: Pick a photo where your pet’s eyes are easy to see. Eyes add life to your portrait.
Creating the Base
You build the base of your portrait with wool. You use a foam pad to hold the wool in place. You shape the wool into a flat or 3D form, depending on the style you want. For a head portrait, you make a round or oval shape. For a full-body, you shape the body and legs. You use a felting needle to poke the wool and lock the fibers together. This step sets the foundation for your needle felted pet portrait. You take your time to make sure the base is strong and smooth.
Layering and Shaping Wool
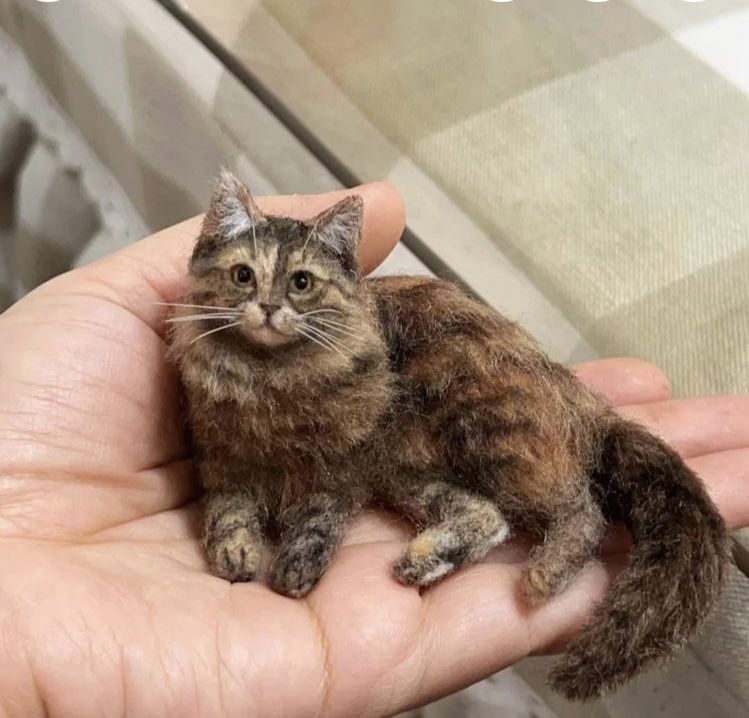
You add layers of wool to create depth and texture. You use different colors to match your pet’s fur. You build up the cheeks, nose, and ears by adding small pieces of wool. You use the needle to sculpt each part. You work slowly and check your progress often. You blend colors to make the portrait look real. Pawimprint’s artists spend hours making hyperrealistic cat portraits by layering wool and shaping every feature. You see the portrait take shape as you add more layers.
-
Steps for Layering Wool:
Add a thin layer of base color.
Build up the main shapes like cheeks and forehead.
Blend in lighter or darker shades for highlights and shadows.
Shape the ears, nose, and mouth with small pieces of wool.
Adding Details
You finish your needle felted pet portrait by adding fine details. You use thin needles to shape the eyes, nose, and mouth. You add tiny bits of colored wool for markings or whiskers. You check the portrait against your reference photo to match every detail. Pawimprint sends you photos and videos during this stage. You can ask for changes if you want the portrait to look more like your pet. The artists listen to your feedback and adjust the details. You see your pet’s spirit come alive in the finished portrait.
Note: Patience and precision matter most when you add details. Small changes make a big difference in the final look.
You take part in the customization process with Pawimprint. You get updates and can request changes. This teamwork helps you get a portrait that truly honors your pet.
Realism in Wool Felt Cat Portraits
Blending Colors
You can make your wool felt portrait look real by blending colors. Start by choosing wool that matches your cat’s fur. Use small amounts of different shades to create depth. Mix light and dark wool together with your fingers before you start felting. This helps you copy the natural look of fur. When you poke the wool with your needle, blend the colors right on the portrait. You can add highlights or shadows to show where the light hits your cat’s face. Pawimprint artists use this method to create hyperrealistic cat portraits that capture every unique marking.
Sculpting Features
To make your portrait stand out, focus on sculpting the main features. Shape the nose, cheeks, and ears with care. Use your felting needle to build up these parts slowly. Check your reference photo often. This helps you match the shape of your cat’s face. For hyperrealistic cat portraits, you need to pay attention to the size and position of each feature. Pawimprint artists use special needles to sculpt tiny areas. You can see the difference in the final result when you take your time with this step.
Fine Details
Adding fine details brings your portrait to life. Use thin needles to create sharp lines around the eyes and mouth. Add small bits of colored wool for whiskers or special markings. Look closely at your reference photo and match every spot and stripe. The eyes need extra care. Use shiny wool or a tiny bit of silk to make them look bright and real. Pawimprint’s realistic wool felt cat portraits stand out because of the attention to these details. You can feel the skill and love in every finished piece.
Tip: Take breaks and look at your portrait from different angles. This helps you spot areas that need more work.
Presenting the Finished Needle Felted Portrait
Final Touches
You reach the most exciting part when you add the final details to your wool felt portrait. At this stage, you check every part of your work. You look for loose fibers and smooth out the surface. You use a fine needle to fix any small spots. You compare your portrait to your reference photo one last time. This helps you make sure the eyes, nose, and markings match your pet. Pawimprint artists also do a careful quality check. They make sure the finished needle felted portrait looks lifelike and strong. You can feel proud of the care that goes into every piece.
Tip: Take a step back and view your portrait from different angles. This helps you spot anything you might want to adjust before you finish.
Display Options
You have many ways to show off your portrait. You can frame it in a shadow box to keep it safe and dust-free. Some people like to mount the portrait on a wooden base or display it on a shelf. If you choose a 3D style, you can place it in a glass dome for extra protection. Pawimprint offers custom framing and mounting options to fit your style. You can even add a nameplate or a special background. Here are some popular display ideas:
Shadow box frame
Wooden stand
Glass dome
Hanging ornament
Choose the option that fits your home and makes your portrait stand out.
Keepsake Value
A wool felt portrait is more than just art. You keep a piece of your pet’s spirit close to you. Many people use these portraits as memorials for pets they have lost. You can place the portrait in a special spot at home. It brings comfort and happy memories. Pawimprint’s portraits help you celebrate the bond you share with your pet. Each one becomes a lasting keepsake that you can treasure for years. You give yourself or a loved one a gift that holds deep meaning.
A finished needle felted portrait can bring a smile or even a tear. It reminds you of the love and joy your pet brought into your life.
You can notice the skill in each wool felt portrait. Artists use only wool and shape every part by hand. This makes a soft keepsake that lasts a long time. Handmade portraits have more color and texture than machine-made ones. You get a one-of-a-kind tribute that shows your pet’s spirit. Pawimprint helps you make a memory with special details and lifelike looks.
FAQ
How long does it take to make a wool felt portrait?
You can expect your portrait to take about 2 to 3 months. Each piece is handmade with care. Pawimprint keeps you updated with photos and videos during the process.
Can you use my pet’s real fur in the portrait?
Yes! You can ask Pawimprint to include your pet’s real fur. This adds a personal touch and makes your keepsake even more special.
How do I care for my wool felt portrait?
Keep your portrait away from water and direct sunlight.
Dust it gently with a soft brush.
Store it in a display case or frame for extra protection.
What types of pets can you make into a wool felt portrait?
You can order portraits of cats, dogs, rabbits, birds, or any pet you love. Pawimprint artists work from your photos to capture each animal’s unique look.