
Needle Felting Made Simple How to Shape Your First Animal
Needle felting helps you calm down and make cool things. You can finish a needle felted animal in a few hours. Lots of people begin because they want a special item or like making things. Pawimprint’s Custom-Pet Wool Felt Full Body Portrait teaches how to make felt animals that hold memories.
Key Takeaways
Begin needle felting with simple tools like felting needles, colorful wool, and a felting surface. These basic items help make needle felting easier and more fun.
Make a strong base for your felt animal using wire or pipe cleaners. This base helps you shape your animal and holds it together.
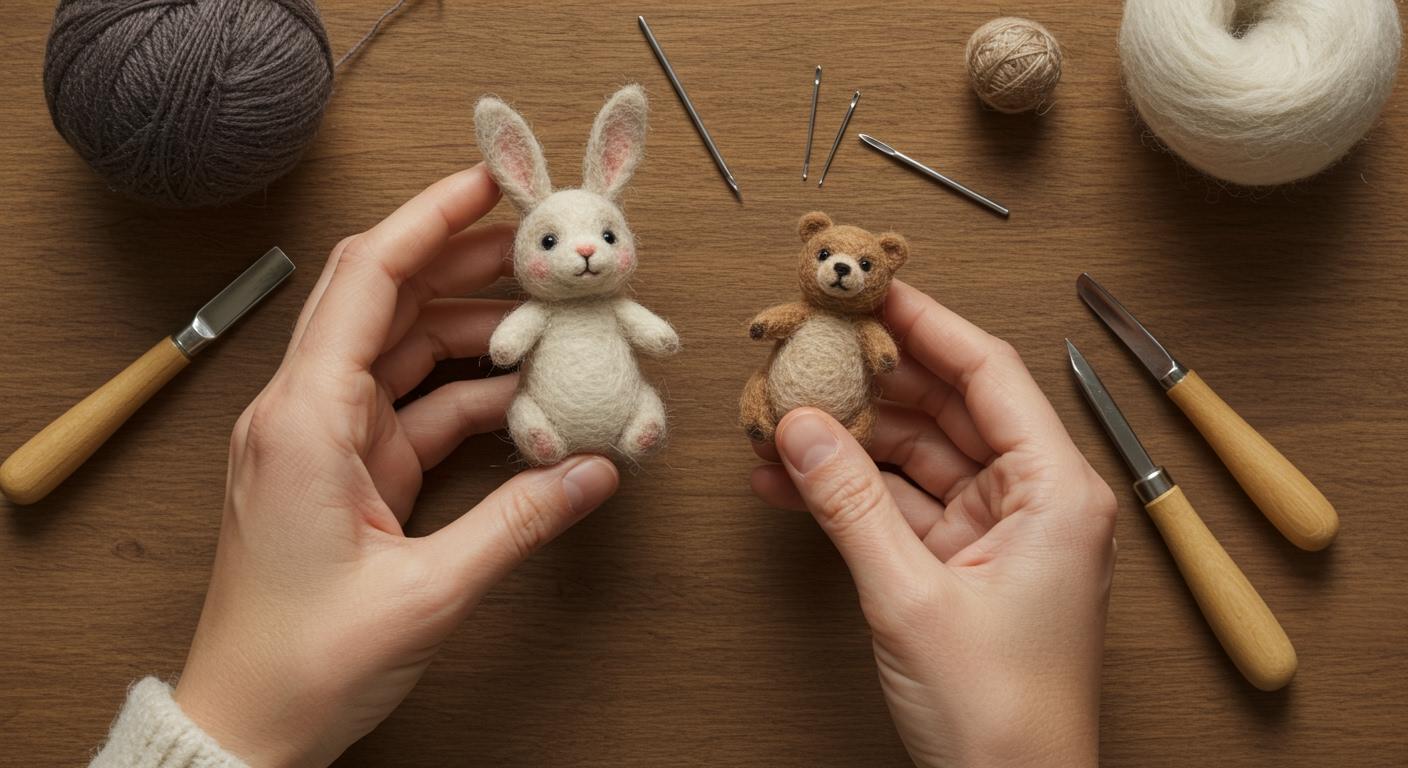
Give your animal character by attaching the head, limbs, and tail with care. Look at pictures of animals to get the right size and make it look real.
Needle Felting Basics

Essential Tools and Materials
You don’t need a lot to start needle felting, but each tool has a special job. Here’s what you’ll want on your table:
Felting needles in different sizes help you shape and add details.
A felting surface, like a foam pad or sponge, keeps your table safe.
Colorful wool, usually fine or medium-fine, forms the body of your animal.
Pipe cleaners or wire give your animal structure.
Glue helps attach tiny parts, like eyes or whiskers.
Felting needles come in different shapes and gauges. Check out this table to see how each type works:
Needle Type |
Gauge Range |
Purpose |
|---|---|---|
Fine Needles |
40-42 |
Great for delicate work and details. |
Medium Needles |
36-38 |
Good for shaping and firming wool. |
Coarse Needles |
32-34 |
Best for quickly shaping big pieces. |
Safety Tips for Beginners
Felting needles are sharp! Always use a felting cushion to protect your hands and your project. Try not to hold your animal in your hand while poking. This keeps your fingers safe from accidental stabs. Choose hypoallergenic wool if you have allergies.
Tip: Work slowly and keep your eyes on your needle. It’s easy to get poked if you rush.
Choosing Wool and Kits
You’ll see two main types of wool: merino and core wool. Merino feels soft and looks nice on the outside. Core wool is cheaper and works well for the inside. Here’s a quick comparison:
Feature |
Merino Wool |
Core Wool |
|---|---|---|
Softness |
Very soft |
Less soft |
Cost |
More expensive |
Cheaper |
Use |
Outer layers |
Inside shapes |
Beginner kits, like the Heidi Feathers Needle Felting Starter Kit, give you everything you need. These kits include wool, needles, a foam mat, and even a tutorial. Kits make basic needle felting easy and fun for everyone.
Step-by-Step Guide: How to Make Felt Animals
Shaping the Core Body
You start every needle felting project by building a strong base. The core body gives your animal its shape and helps everything stay together. Here’s a step-by-step guide to get you going:
Grab your wire or pipe cleaners and bend them into the basic shape of your animal. This is called an armature. It acts like a skeleton.
Layer core wool onto the armature. Use your felting needle to poke the wool until it sticks and forms a solid foundation.
Check a reference pattern or photo. This helps you keep the proportions right and makes your animal look lifelike.
Add more core wool to build up “muscles.” You want the body to feel flexible but firm.
Watch out for common mistakes, like fusing the thighs together. Keep each part separate as you felt.
Tip: Always work on a soft mat and poke gently. If you stab too hard, you might bend your needle or hurt your fingers.
Adding Head, Limbs, and Tail
Once you have the core body, you can add the head, legs, and tail. These parts give your needle felted animal its personality.
Leave loose fibers at the neck when you make the head. This helps you bind it to the body.
Attach the head by stabbing the wool from a 45-degree angle under the chin. This anchors it securely.
For limbs, stab deeply in all directions. Start with the hind legs so you can position the forelegs better.
Use a medium-width barbed needle for strong joins. Stab at different angles to lock the limbs in place.
Use anatomical references and photos. This keeps the proportions correct and helps you see how the legs and tail should look.
Note: Needle felting tutorials often show these steps in detail. Watching a video can help you see exactly how to attach each part.
Attaching and Refining Parts
You want your animal to look smooth and natural. Here’s how you can attach and refine each part:
Felt each body part separately before joining. Softer pieces are easier to attach, but firmer pieces hold their shape.
Attach the head first. Stab through the join from different angles to lock it in place.
Lay thin wisps of wool across the join. Felt them in to blend the parts together.
Add extra wool to fill out the shape and smooth rough spots. This helps balance the proportions.
Tip: If you notice any uneven areas, add a little more wool and poke gently until everything looks even.
Features: Eyes, Ears, and Details
The eyes, ears, and tiny details bring your animal to life. You can use different wool types and colors to make these features stand out.
Technique |
Description |
|---|---|
Adding Shine and Reflection |
Use silk or white wool for highlights that mimic real eyes. |
Finishing Touches |
Smooth the edges and blend the eye with the face for a natural look. |
Layering for Depth |
Build the eye in layers, starting with a dark base and adding lighter colors. |
Common Mistakes |
Avoid eyes that are too big or placed wrong. Use a reference photo and mark placement with light wool. |
Corriedale wool gives you natural colors and textures for realistic fur.
Alpaca fibers add a soft, shiny finish.
Mohair makes the fur look silky and elegant.
Yak hair creates a plush, warm texture.
Tip: Always add a tiny white spot to the eye for reflection. This makes your animal look alive.
Troubleshooting Tips
Sometimes things don’t go as planned. Here are some quick fixes for common needle felting problems:
If the surface looks pockmarked, use a fine needle and poke gently at an angle.
For holes, tease the edges with a small awl to move the fibers back into place.
If parts feel loose, add more wool and stab deeper to secure them.
Let your piece rest for a few days. Wool relaxes and settles, making it easier to fix small issues.
Note: Needle felting tutorials online offer easy-to-follow instructions and practical tips. You can pause and rewind videos to master tricky techniques.
Needle felting is easier when you use both written guides and instructional videos. Videos show you exactly how to poke, shape, and attach parts. Written guides give you tips you can read anytime. If you want to learn how to make felt animals, start with a step-by-step guide and check out needle felting tutorials for extra help. You’ll build confidence and create adorable animals in no time.
You finished your first animal! Be proud, even if it is not perfect. Try making a needle felted dog next or look for new ideas. If you need ideas, check out Pawimprint’s Custom-Pet Wool Felt Full Body Portrait. It shows what you can make. Remember to stay safe with these tips:
Wear finger guards and work on a steady surface.
Keep your needles in a safe place.
Rest your hands and eyes often.
Description |
|
|---|---|
The Complete Photo Guide to Felting |
This book helps you learn more about felting. |
Lovable Felted Animals |
This book has easy animal projects for beginners. |
Keep practicing and have fun as you learn needle felting!
FAQ
How long does it take to finish a felt animal?
You can finish a small animal in two to four hours. Bigger animals may take a day or more. Take breaks to rest your hands.
What should I do if my needle breaks?
Grab a new needle from your kit. Always poke gently and straight. Store extra needles in a safe spot so you can find them fast.
Can kids try needle felting?
Kids can try needle felting with adult help. Use finger guards and work slowly. Watch safety videos together before you start.