
What You Need to Start Making a Felt Bunny

Ready to make your first felt rabbit? You’ll only need a few supplies to start. Many people love needle felting because it’s simple, relaxing, and fun. At Pawimprint, artists use pure wool and careful hands to create each needle felted rabbit. You’ll also find tips to make your bunny unique!
Key Takeaways
Get the main materials like wool felt, felting needles, and scissors. You need these tools to make and sew your felt bunny. These items help you shape and put together your bunny.
Pick 100% wool felt because it lasts long and feels soft. Pure wool is good for the environment. It helps your bunny keep its shape for a long time.
Make your felt bunny special with different colors and accessories. You can add things like a small scarf or other cool details. These touches make your bunny unique.
Materials for a Felt Rabbit
Essential Materials
Before you start making your felt rabbit, you’ll want to gather a few key items. These tools and supplies help you shape, stitch, and bring your bunny to life. Here’s a handy table to show you what you need and why each item matters:
Material |
Function |
|---|---|
Printed Pattern |
Helps you cut out the right shapes for your felt pieces. |
3″x6″ Piece of wool felt |
Main fabric for your bunny’s body. Pure wool felt is soft and sturdy. |
Used to poke and shape the wool into a bunny form. |
|
Needle Felting Pad |
Protects your work surface and your needles while you felt. |
Matching Embroidery Floss |
Great for stitching the bunny together and adding details. |
Pink Embroidery Floss |
Adds color to the ears and face. |
Polyfil Stuffing |
Makes your bunny soft and huggable. |
Scissors |
Cuts felt and pattern pieces cleanly. |
Tweezers |
Helps you stuff small areas, like the ears. |
You can find most of these supplies at craft stores or online shops. Stores like Living Felt and Sarafina Fiber Art offer a wide range of felting needles, wool felt, and starter kits. If you want everything in one box, look for a needle felting kit. These kits often include wool felt, needles, and even patterns for a felt rabbit.
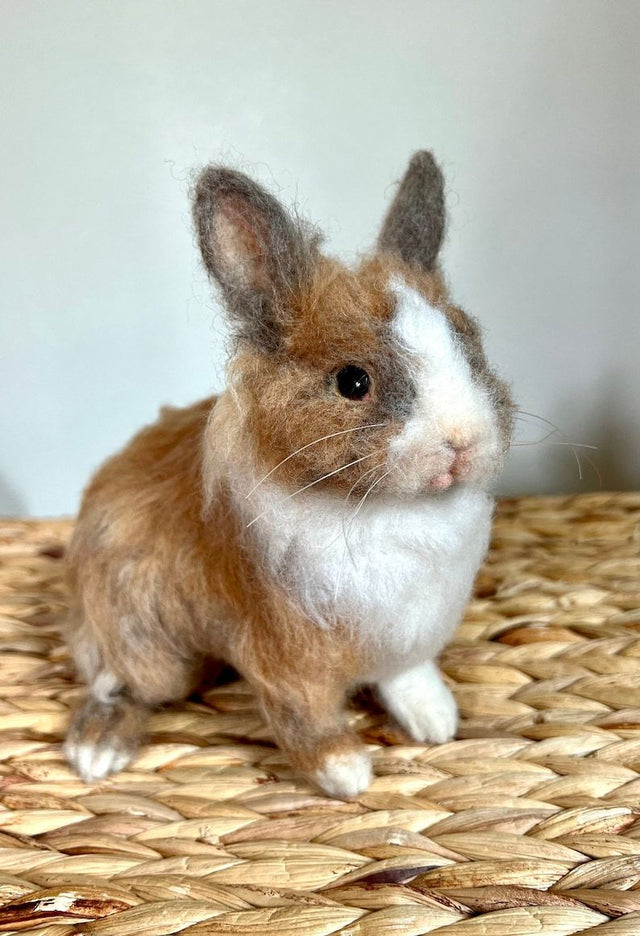
When you choose your felt, go for 100% wool felt if you can. Pure wool felt is soft, dense, and holds its shape well. It’s much better for a needle felted rabbit than synthetic felt, which can be thin and less durable. Wool felt also resists pilling and keeps your bunny looking new for longer. At Pawimprint, artists use pure wool for every needle felted rabbit. This gives each piece a handcrafted feel and lasting quality.
Tip: Pure wool felt is not just strong—it’s also eco-friendly! Wool is renewable, biodegradable, and made without harsh chemicals. You can feel good about using it in your project.
Optional Extras
Want to make your felt rabbit even more special? Try adding some fun extras! These little touches help your bunny stand out and show off your style.
Almond felt balls: Use these as cute decorations or to make a bunny tail.
Wood beads: Perfect for eyes or as embellishments.
Pipe cleaners: Shape them into whiskers or bendable ears.
Frixion tracing pens: Mark your felt pieces before cutting.
Tacky glue: Attach small parts if you don’t want to sew.
Wool nepps or Angelina fiber: Add texture or a bit of sparkle to your bunny.
Armature wire: Give your bunny poseable legs or ears.
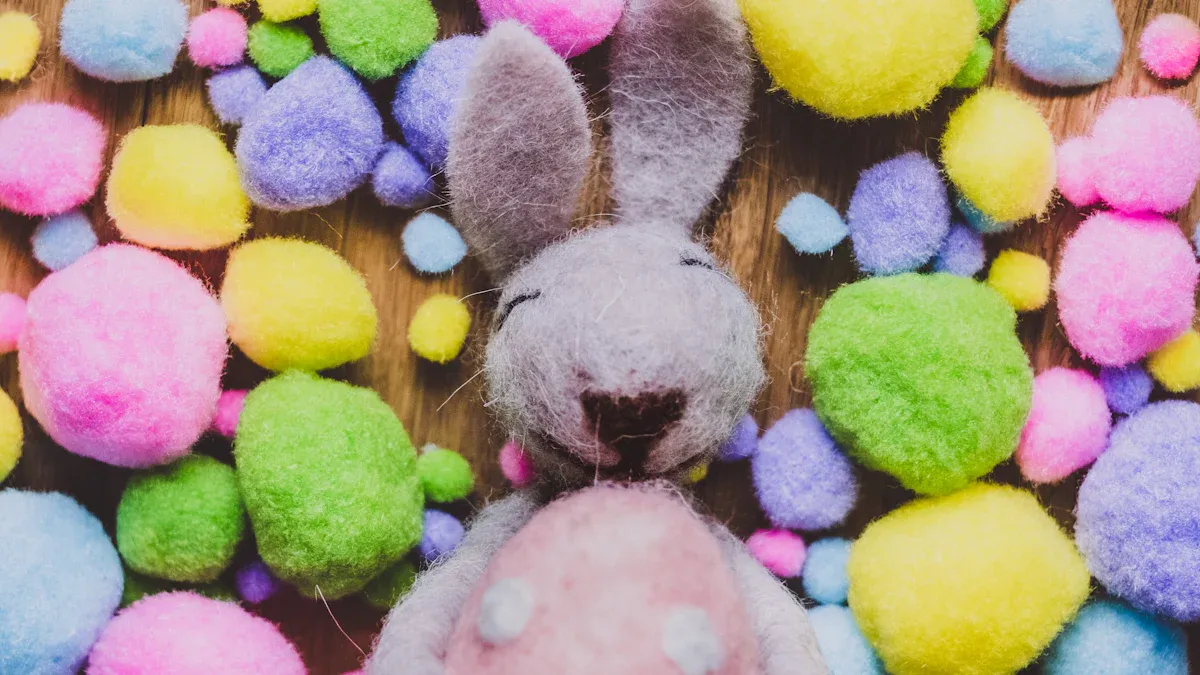
You can also play with color. Pick classic white or gray felt for a natural look, or try pink, blue, or even rainbow felt for a playful twist. Mix different types of wool felt, like merino or Corriedale, to get the texture you want. At Pawimprint, artists often personalize each needle felted rabbit with unique colors and details. You can do the same! Add a tiny scarf, a bow, or even a little heart to make your bunny one-of-a-kind.
Note: Handcrafted materials make your project feel extra special. They help you connect with your creation and add a personal touch, just like the artists at Pawimprint do with every felt rabbit.
If you’re curious about cost, most basic kits for a felt rabbit range from $15 to $35. You don’t need to spend a lot to get started. Just pick your favorite felt, gather your tools, and let your creativity hop to life!
How to Make a Needle Felted Rabbit
Easy Felt Bunny Steps
Ready to jump into your first needle felted rabbit? This step by step tutorial will guide you through every part of the process. You’ll see how to make a needle felted rabbit from start to finish. Gather your materials and let’s get started!
Shape the Body
Pull off a thick strip of wool, about 4 x 4 3/4 inches. Place it on your felting pad. Use your felting needle to poke the wool a few times. Lift it off, roll it into a sausage shape, and stab all over. Make one end round and leave the other end loose. This will help you attach the head later.Form the Head
Take a smaller piece of wool. Shape it into a balloon. Hold one end and stab all over, turning as you go. Leave the end you are holding fluffy. This will help you join the head to the body.Attach the Head to the Body
Place the head on top of the body. Use your needle to stab the loose ends together. This connects the two parts.Make the Legs and Paws
Pull four equal strips of wool. For the front paws, flatten two strips by stabbing them. Roll each into a thin sausage and stab all over. Leave the ends loose. Add a bit of white wool to one end and stab to make a rounded paw. Repeat for the back legs, but make the ends a little fatter.Shape the Legs
For the front paws, stab a line about 5mm from the rounded end. Roll that area between your fingers to make an ankle. Flatten the base of the paw by stabbing it on the pad. For the back legs, make the paws longer and flatter. Add more wool if you need to widen them.Attach the Legs to the Body
Bend the back legs to form a knee. Place them on the sides of the body and stab to secure. Add wisps of wool to hold them in place. Attach the front paws between the back legs at the front of the body.Build Up the Body and Chest
Add more wool over the back legs to create hips and rump. For the chest, blend some white wool with the main color and stab it in place.Shape the Face and Nose
Make a small loose ball of wool, about a third the size of the head. Attach it to the front of the head. Add wisps of wool to the sides and ridge of the nose. Stab a V-shaped line for the nose and a smaller upside-down V for the mouth. Add small lumps of wool for cheeks. Stab more to make the face dense.Create the Ears
Pull a small length of wool into a loop. Hold the ends and stab one side, then flip and stab the other. Shape the pointed end by rubbing it between your fingers. Stab the tip into a rounded edge. Repeat for the other ear.Attach the Ears
Blend a little pink and white wool for the inside of each ear. Fix the ears to the head by stabbing the ends into place. Add a bit of wool at the base to blend them in.Add the Eyes, Nose, and Mouth
Sew two black beads where you made the eye indentations. Fasten off the thread and hide it inside the head. Add touches of black wool around the eyes for depth. Stab a small amount of pink and white wool for the nose. Use black wool for the mouth and nose outline. Sew on some white thread for whiskers.Make the Tail
Take a small amount of curly wool. Place it at the back of the body and stab it in place. Shape it into a fluffy ball.Add Accessories
Wrap a ribbon around the neck and tie it into a bow. You can also add a tiny scarf or a felted flower.
Tip: Most beginners finish a basic felt rabbit in about 4 hours. Take breaks and enjoy the process!
Adding Details
You can make your felt rabbit unique with a few simple touches. Here are some ideas to personalize your easy felt bunny:
Color Choices
Try different colors for the body, head, or ears. Use classic gray or white, or go bold with pink, blue, or even rainbow shades. Mix wool types for texture.Eyes and Features
Use black beads, felt circles, or embroidery for the eyes. Add a white highlight for a lifelike sparkle. For the nose, blend pink and white wool or use embroidery floss.Accessories
Add a bow, scarf, or tiny hat. To make a bow, use craft wire or felt a strip of wool. Wrap it around the neck or head and secure with a dab of glue or a few needle stabs.Finishing Touches
Give your rabbit a fluffy tail or add a heart-shaped patch. Use embroidery floss to stitch a name or a special date on the body.
Safety Reminder: Always keep your free hand away from the needle. Try wearing a leather glove on your off hand for extra protection. Cover your needles when not in use. Work in a well-lit space and take breaks to avoid fatigue.
If you want more inspiration, look at the custom needle felted rabbit creations from Pawimprint. Their artists use pure wool and careful hands to capture every detail. You can follow this tutorial to make your own felt rabbit, or add your own twist. Every project is different, and that’s what makes cute needle felt projects so much fun!
Note: This step by step tutorial is just the beginning. As you practice, you’ll find new ways to shape the body, head, and ears. Try checking your work against a photo of a real rabbit. Use finer needles and colored wool to add even more detail.
Now you know how to make a needle felted rabbit from start to finish. Enjoy your new hobby and share your creations with friends and family!
You know what supplies you need and how to make a felt bunny. Try making one—everyone has to start somewhere! If you want more ideas, look at these easy tutorials:
How To Sew Felt Animals: 27 Ideas For Toys, Gifts & More!
Free Tutorials on YouTube
Pawimprint’s pet memorials are special because they use real wool and handmade touches. Your felt rabbit can be a tribute in many ways:
Meaningful Use of Felt Rabbit |
Description |
|---|---|
Personalization |
|
Display Options |
Put your bunny under glass or in a favorite place. |
Portable Reminders |
Use your bunny as a keychain or ornament. |
Memorial Gatherings |
Bring your bunny to special memory events. |
Physical Anchor to Memory |
Hold your bunny to feel close and remember. |
Let your imagination go wild and create something unique!
FAQ
How long does it take to make a felt bunny?
You can finish your first bunny in about four hours. If you want to add more details, your rabbit might take a little longer.
Can I use any wool for my bunny or rabbit?
You should use pure wool for your bunny. Pure wool helps your rabbit hold its shape and feel soft. Pawimprint always uses pure wool for every bunny and rabbit.
What if my bunny or rabbit looks different from the pattern?
That’s normal! Every bunny and rabbit will look unique. Your bunny might have a different face or ears. Enjoy making your own special rabbit.