
How to Turn Your 3D Printing Ideas into Real Objects

You can bring your 3d printing ideas to life by following a few simple steps. People use 3d printing for a wide range of creative projects, from bookholders and custom molds to amplifiers, robot arms, and costume props. With 3d printing, you get to see your designs transform into real, tangible objects right before your eyes. Pawimprint’s 3D Printing Pet Figure Customization is a perfect example of how 3d printing can revolutionize the way we create, turning your pet’s photo into a stunning, lifelike figure. Looking for new 3d printing ideas? Try incorporating LED lights or sound control into your next project for an extra touch of creativity.
Key Takeaways
Begin your 3D printing journey by thinking of ideas from daily problems. Look around for things that inspire you.
Draw your designs to see your ideas. Simple sketches help you understand your project. They also help you avoid expensive errors.
Pick the best 3D modeling software for your skill level. If you are new, try easy tools like Tinkercad.
Choose good materials for your prints. The right filament makes your product strong and look nice.
Test your designs and make changes. Ask others for feedback and improve your 3D printing projects.
Develop Your 3D Printing Ideas
Brainstorm Concepts
Every great 3d printing project starts with a spark of inspiration. You might wonder, “How do I come up with new 3d printing ideas?” The answer is simple: start by looking around you. Think about your daily life. What small problems do you face? Maybe you need a better way to organize your desk or want a custom phone stand. These little challenges can turn into amazing 3d printing projects.
Here are some ways you can brainstorm creative concepts:
Use prompts to get your imagination going. For example, ask yourself, “What would make my pet’s space more fun?” or “How can I make my room brighter?”
Think about custom toys or gadgets you wish existed. 3d printing gives you the design flexibility to create almost anything.
Talk with friends and family. Sometimes, they notice things you don’t. Their suggestions can lead to unique products.
Check out trends in hobbies or tech. You might spot a cool idea that you can improve or personalize.
Reflect on your own needs. If you find a small inconvenience at home, that could be your next project.
Professional designers often follow a process to bring an idea to life. They start by brainstorming and researching, then evaluate which ideas are possible and useful. After picking the best one, they refine it and get ready for prototyping. This approach helps you focus on ideas that are both creative and practical.
Tip: Don’t be afraid to dream big! 3d printing lets you test wild ideas quickly and cheaply. If something doesn’t work, you can always tweak your design and try again.
Pawimprint’s 3D Printing Pet Figure Customization shows how you can turn a simple idea—like wanting a keepsake of your pet—into a real product. Customers share what emotions they want their pet figure to show, such as comfort or joy. This feedback helps guide the design and makes the final product special.
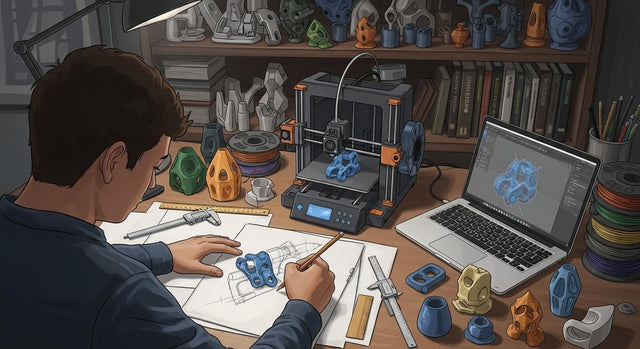
Sketch Designs
Once you have a list of 3d printing ideas, it’s time to put pencil to paper. Sketching helps you see your thoughts and plan your project. You don’t need to be an artist. Simple drawings work just fine.
Sketching offers several benefits:
Benefit |
Description |
|---|---|
Rapid concept exploration and iteration |
You can quickly test different ideas without spending much time or money. |
Cost-effective ideation phase |
Sketches help you avoid jumping into expensive digital modeling too soon. |
Clear communication of design intent |
Drawings make it easier to share your vision with others. |
Foundation for complex 3D projects |
A good sketch gives you a strong base for building more detailed models. |
Try drawing your product from different angles. Add notes about size, shape, or special features. If you want to add LED lights or sound control, mark where those parts will go. This step makes your design clearer and helps you spot problems before you start modeling.
At Pawimprint, the design process begins with customer photos and preferences. After you upload your pet’s images and share your ideas, the team creates a mock-up sketch. You get to review this sketch and give feedback. If you want changes, the designers adjust the sketch until it matches your vision. This back-and-forth ensures the final product captures your pet’s personality and your wishes.
Note: Sketching is not just for professionals. Anyone can use it to plan and improve their 3d printing projects. The more you sketch, the better your ideas will become.
By brainstorming and sketching, you lay the groundwork for successful product development. These steps help you focus your creativity, avoid costly mistakes, and make the most of 3d printing’s flexibility. Whether you’re designing a custom pet figure or a handy gadget, starting with clear ideas and simple sketches will set you up for success.
Create Digital Models
You have your sketches and ideas. Now you need to make them digital. This is when your 3d printing project really starts. You use digital design as a plan. It shows every detail. It helps you turn your ideas into real objects.
Choose 3D Software
Picking the right 3d modeling software helps a lot. You want tools that let you make, change, and get your models ready for 3d printing. Some programs are easy for beginners. Others have more features for hard projects.
Here’s a table with features to look for when picking software for custom figurines:
Feature |
Description |
|---|---|
3D Textures |
Add repeating details to your models, like bumps or dimples. |
Topology Optimization |
Find the best shape for your figurine and see where to add or remove material. |
Undercut Analysis |
See where your figurine needs supports so you can avoid them for a smoother look. |
Geometry Analysis |
Find problems for 3d printing, like broken edges or faces. |
Material Requirements |
Update your materials list so you know how much filament you need. |
File Export |
Export your designs as STL or 3MF files and send them to your 3d printer. |
Pick software that matches your skills and project. If you are new, try easy programs like Tinkercad or Ultimaker Cura. These help you learn and start your first 3d print. If you want more control, use advanced tools with geometry analysis and topology optimization.
Pawimprint’s artists use professional 3d modeling software to make pet figures. They start with customer photos and build a digital model that looks like your pet. Every part, from the ears to the fur, gets special care. This careful work makes sure your pet’s figurine looks just right.
Design and Refine
You have your software. Now you start making your model. Use your sketches to help you shape your design on the computer. This step makes sure your model is ready for 3d printing.
Here’s how you make your digital model better:
1. Pick simple software like Ultimaker Cura or PrusaSlicer. 2. Change the size of your model so it fits your printer. 3. Check the mesh and fix any problems. 4. Hollow out the model to save material and time. 5. Add supports in the right places to keep your model steady. 6. Set your print settings and export your model as a G-code file. 7. Send the G-code to your printer and start printing.
You want your design to be correct and easy to print. Look for problems like rough edges or holes. Use geometry analysis tools to find issues before you print. If you want to add LED lights or sound, leave space for wires and parts in your design.
Pawimprint’s team makes each pet figure better by checking customer feedback and changing the digital model. They use good photos to get every detail. If you want a special pose or background, they change the design to fit your idea. This step-by-step work helps them make lifelike figurines.
Tip: Take your time with digital design. The more you fix your model, the better your 3d print will be.
You use digital models to plan and test your ideas. This lets you try new things and make changes before you print. You can test different shapes, sizes, and features. With a good design, you can turn digital ideas into real objects.
3d printing lets you make almost anything. You start with a sketch, build a digital model, and fix it until it’s just right. Whether you make a pet figure or a gadget, digital design is the key to success.
Prepare Materials and Budget
Select Filament and Components
You want your 3d printing project to look nice and last long. The materials you choose matter a lot for the final result. There are many options for figurines and custom items. Here are some common filaments and parts you can pick:
ABS: It is strong and tough. It works well for toys and sturdy things.
PLA: This is made from plants. It breaks down over time and is good for figurines or test models.
TPU: This is bendy and lasts a long time. It is good for parts that need to move.
Nylon: It is very strong. People use it for gears or parts that need to handle a lot of force.
PETG: This can take more heat than PLA. It is good for containers or things used at home.
PC: It can handle heat and fire. It is used for special parts.
If you want your project to stand out, you can add LED lights or sound modules. These extra parts give your 3d print more design choices and make it special.
Pawimprint uses strong, earth-friendly materials for their pet figures. This helps the planet and makes sure your figure lasts for years. Look at the good and bad sides of eco-friendly materials:
Advantages |
Disadvantages |
|---|---|
Less waste by using recycled stuff |
Some gases come out when heating certain plastics |
Bio-based plastics save energy |
It can be hard to keep materials green |
Making things nearby cuts down on shipping |
Old ways of making plastic use a lot of energy |
3d printers can do many jobs, so big factories are not needed |
Plant-based plastics can take a long time to break down |
Plan Costs
You should plan your money before you start 3d printing. Making a list of what you need helps you keep track. Write down every filament, part, and tool. This step keeps your project on track and stops surprises.
Here is a quick look at what a custom 3d print might cost:
Complexity Level |
Price Range for 3D CAD Modeling |
|---|---|
Simple Objects |
$40 – $75 |
Miniature Model |
$100 – $200 |
Medium/High Complexity |
Varies by requirements |
The price depends on how hard your design is, who makes it, and what you need. If you use a 3d printing service, it can cost more. If you have your own printer, you save money on making things.
To help with your budget, try these tips:
Strategy |
Description |
|---|---|
Pick the best process |
FDM printing is usually cheaper than SLS or SLA, but still works well. |
Make your design better |
Use honeycomb or lattice shapes to use less material and save money. |
Good planning helps you turn a test model into a finished product. You get more control over your 3d printing costs. Careful budgeting helps you make a great product.
Tip: Always check your list of materials before you print. This step saves you both time and money!
Set Up and Print
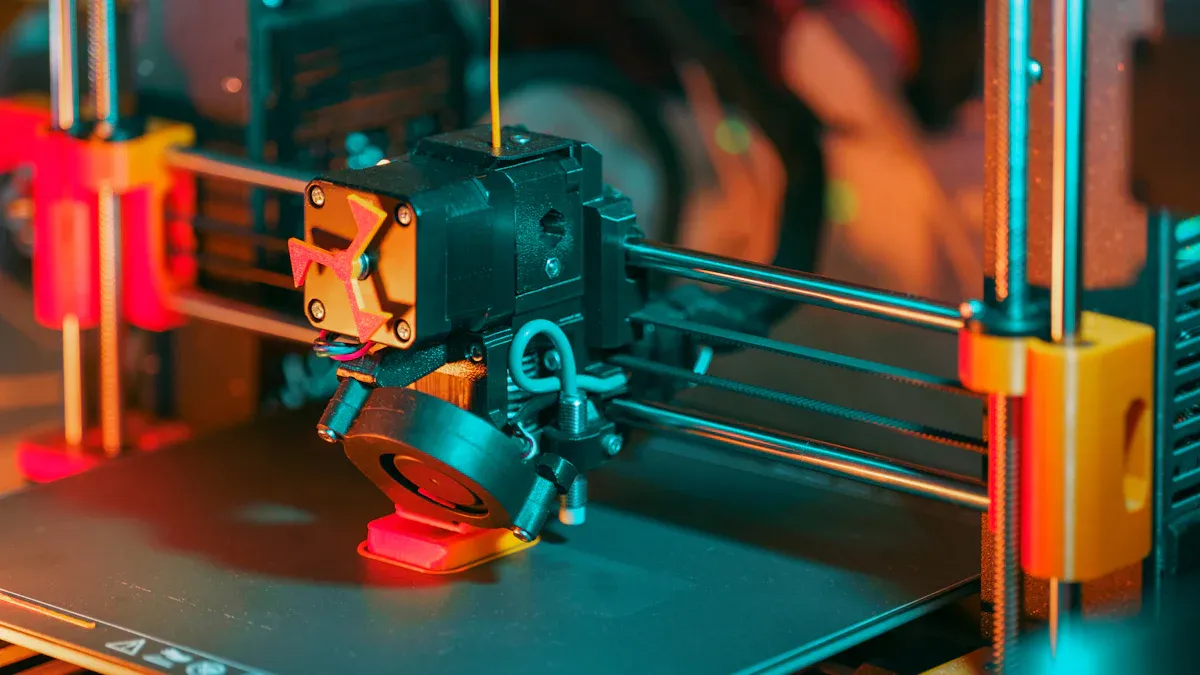
Printer Setup
You need to set up your printer before you start. Put your printer on a flat, strong table. This keeps it from shaking or moving. Take off all safety screws and shipping parts. Look for any broken or loose pieces. Make sure every part can move easily. Add oil to the moving parts before you print. Run checks like auto bed leveling and filament tests. Clean the build plate with alcohol or warm soapy water. Put in your filament and do a test print.
Calibrating your printer helps your prints look good. Bed leveling helps the first layer stick well. It also keeps layers straight. Extruder calibration makes sure the right amount of filament comes out. This makes your print look neat. Temperature tuning helps you pick the best heat for your filament. Change retraction settings to stop stringy bits and make prints more accurate.
Tip: Always check your printer before you start a new project. A good setup means you will have fewer problems later.
Slicing and Printing
Next, use slicing software to get ready to print. Slicing changes your digital design into steps for your printer. Some popular slicers are PrusaSlicer, PreForm Slicer, ChiTuBox, Cura, and Superslicer. These programs let you change settings and supports. You can make your design fit your needs.
If your print does not work, try these fixes:
Change settings to stop too much filament and jams.
Heat the filament enough so it bonds well.
Level the bed to stop warping.
Fix extruder heat and clogs.
Look at your model and move it for better supports.
Rapid prototyping helps you make products faster. You can print a sample overnight and test it. If you find problems, you can fix them quickly. This lets you get feedback and make changes fast. You save money and find risks early. 3d printing lets you try new ideas and improve your product quickly.
Note: If you want to add things like LED lights, plan for them before you slice your design.
3d printing helps you turn ideas into real things. Careful setup and slicing give you better results and more ways to improve your product.
Post-Process and Improve
Finishing Touches
You’ve finished your 3d printing, but your project isn’t done yet. Now comes the fun part—making your creation look amazing! Post-processing helps you turn a rough print into a polished masterpiece. You can use different techniques to smooth, color, and assemble your model. Here’s a quick look at some popular methods:
Technique |
Description |
|---|---|
Support Removal |
Take off extra supports. This step needs care to avoid marks on your model. |
Mirror Polishing |
Buff the surface for a shiny, bright finish. |
Putty Filling |
Fill in gaps and smooth rough spots for a better look. |
Coloring |
Paint your model with fine details for a lifelike finish. |
You’ll need a few tools and supplies for these steps. Grab a toothbrush, some water with mild detergent, and a damp cloth for cleaning. For painting, use primer, paints made for plastics, brushes, or even an airbrush. Always wear gloves and goggles to stay safe.
Want to make your pet figure interactive? Try adding LED strips or tiny diodes. These work well for small models and don’t need much power. If your model is bigger, you can use lightbulbs, but watch out for heat.
Test and Iterate
Testing is a big part of product development. You want your prototype to work and look just right. Here are some best practices to help you improve your project:
Best Practice |
Description |
|---|---|
Iterative Design Reviews |
Check your work often and look for ways to make it better. |
Establish Clear Testing Criteria |
Decide what makes your model a success before you test it. |
Conduct Comprehensive Testing |
Try your model in different ways to find any problems. |
Document Testing Results |
Write down what works and what doesn’t for future product development. |
Don’t work alone! Join 3d printing communities and forums. People there share tips, answer questions, and help you solve problems. You can learn from others’ product development journeys and get inspired to try new things. When you share your own progress, you help others too.
Tip: Keep improving your product development process. Every test and bit of feedback makes your next design even better!
You can make your 3d printing ideas real by following each step. Start with a sketch and end with a prototype. If you have trouble, look at this table for help:
Challenge |
Solution |
|---|---|
Print doesn’t stick |
Level the print bed |
Messy surfaces |
Add support in slicing |
No filament coming out |
Unclog the print head |
3d printing ideas help you learn how to make products. You also learn to fix problems and create special things. You get to design, test, and make your product better. As you keep working, you build skills for school and jobs. Try making something custom, like a Pawimprint pet figure with cool features. Each time you finish a product, you get better at making things and ready for your next project!
-
Benefits of learning 3d printing:
You learn new things and feel more sure of yourself.
You get better at solving problems and thinking in new ways.
You can test and change your product fast.
Let your ideas shine. Start your 3d printing journey and see what great things you can make!
FAQ
How do I choose the right 3D printer for my project?
You should think about what you want to make. Look at printer size, material options, and price. If you want to print small figures, a desktop printer works great. For bigger projects, check out larger models.
Can I use my own pet photos for a Pawimprint figure?
Yes! You upload your favorite pet photos when you order. Pawimprint’s artists use your images to create a lifelike, custom figurine that matches your pet’s look and personality.
What materials work best for 3D printed figurines?
PLA and resin both work well for figurines. PLA is eco-friendly and easy to use. Resin gives you more detail and a smooth finish. Pawimprint uses durable, fade-resistant, and eco-friendly materials for their pet figures.
How can I add special features like LED lights to my 3D print?
You can design spaces in your model for LEDs or wires. Plan where you want the lights before you print. After printing, carefully install the lights and test them. This makes your project stand out!