
Felting Keychain Journey From Wool to Wonderful Keepsake
A felting keychain changes soft wool into a small piece of art you can take anywhere. I like how these keepsakes help me think of my pets. The Custom Wool Felt Pet Portrait Keychain from Pawimprint lets me honor my furry friend in a unique way. I think each felting keychain is a memory I can keep with me. Seeing wool turn into a real-looking tribute feels amazing.
Key Takeaways
Felting keychains change soft wool into small art pieces. These pieces show your pet’s look and spirit in a special way. Using good wool and the right felting needles makes strong keychains. These keychains look real and last a long time. Careful shaping and layering help make each keychain unique. Adding details like eyes or small accessories makes them personal. Strong hardware like key rings or lobster clasps keeps your keychain safe. It also makes it easy to carry every day. Practicing felting helps you get better and faster. Avoiding common mistakes makes felting more fun too.
Felting Keychain Basics
What Is It?
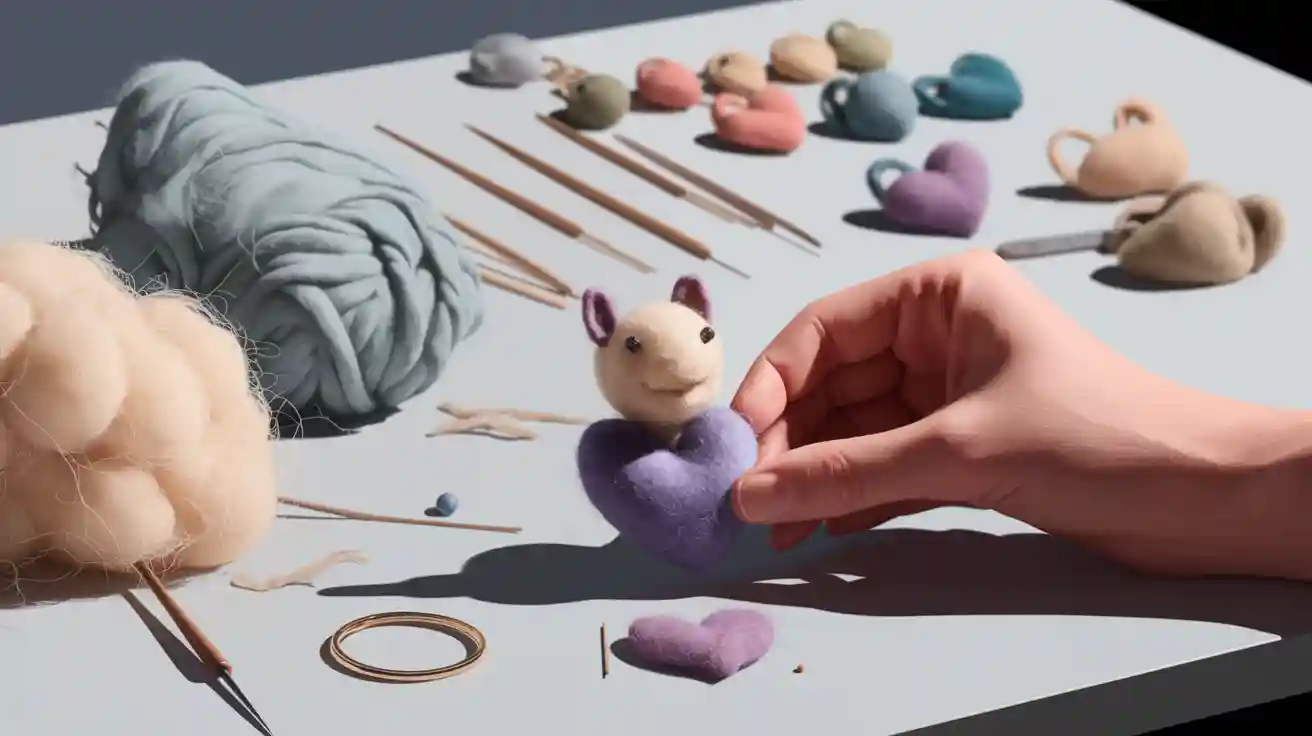
When I first learned about a felting keychain, I saw it as more than just a craft. A felting keychain starts with soft wool. I use a special needle to poke and shape the wool until it forms a small, sturdy figure. This process is called needle felting. The result is a tiny, three-dimensional piece of art that I can attach to my keys, bag, or backpack.
Pawimprint takes this idea to the next level. Their custom pet portrait keychains use the ancient needle felting technique. Skilled artisans spend hours shaping and layering 100% natural wool felt. The wool feels soft and looks vibrant. Each keychain can have a wooden frame, which I can customize in size, color, and style. I can even add a special message. These keychains do not just show what my pet looks like. They capture my pet’s spirit and personality.
Why Choose One?
I choose a felting keychain because it lets me keep my pet close, no matter where I go. Many people want a pocket-sized reminder of their beloved pets. These keychains work well as keepsakes or memorials, especially if a pet has passed away. Some people even add their pet’s real fur for a deeper connection.
I love how I can personalize every detail. I can add bows, collars, or angel wings to match my pet’s style. The handmade nature makes each keychain unique. When I hold my custom keychain, I feel joy and comfort. It is a small but powerful way to remember and celebrate my furry friend.
Tip: A felting keychain also makes a thoughtful gift for anyone who loves animals or wants to honor a pet’s memory.
Materials and Tools
Wool Types
I pick my wool with care before I start felting. The wool type changes how the keychain will look and feel. Here’s a table that helps me see the main wool types:
Type of Wool Felt |
Composition |
Properties |
Uses in Felting Keychains and Crafts |
Price and Availability |
|---|---|---|---|---|
100% Wool Felt |
Made entirely from wool |
High density, durable, soft, elastic, insulating, fire resistant |
Best for high-quality crafts and lifelike keychains |
More expensive, many colors and thicknesses |
Blended Wool Felt |
Wool with synthetic fibers (e.g., rayon 20-35%) |
Smooth, fluffy, less expensive, good texture |
Good for home crafts and affordable keychains |
Less expensive, widely available |
I like using 100% wool felt when I want my keychain to last long. Pawimprint uses special German-milled merino wool. This wool feels soft and thick. It keeps its color and shape for a long time. I see that good wool makes my keychain look bright and real.
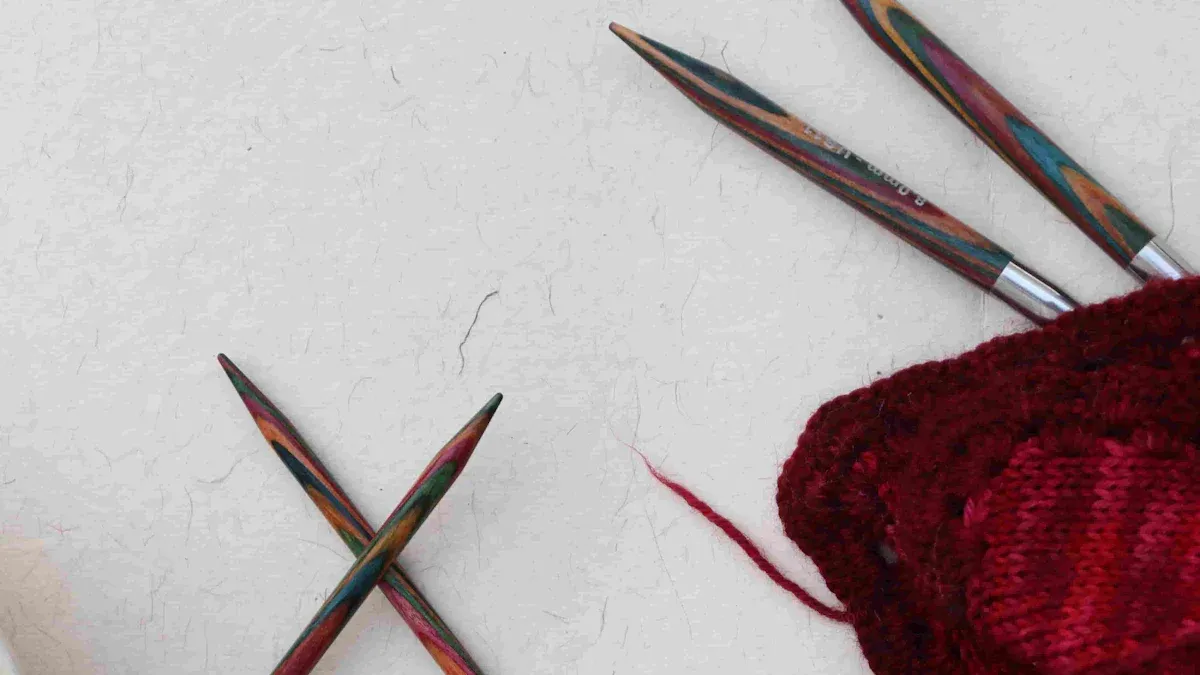
Felting Needles
Felting needles help me shape and form the wool. Each needle type does something different. Here’s a table that shows the main types I use:
Needle Type |
Description & Features |
Influence on Felting Process |
|---|---|---|
Triangular |
Three-sided, many sizes |
Good for basic shaping and general felting |
Twisted |
Spiral blade, barbs spread out |
Felts faster, makes smaller holes |
Star |
Four-sided, more barbs near tip |
Works quickly, great for firm felting |
Forked |
V-shaped tip |
Adds fur or hair, not for shaping |
Crown |
Barbs near tip |
Perfect for fine details |
Reverse |
Barbs face opposite way |
Pulls fibers out for texture or fuzz |
I start with a thick needle to make the shape. For small details, I use a thin needle. I am careful because felting needles are very sharp. Here are some safety tips I follow:
I wear leather finger gloves to keep my hands safe.
I poke the needle straight up and down so it does not break.
I use a foam mat to protect my table.
I keep my area clean and put needles away safely.
Tip: Taking breaks helps my hands and eyes rest during long felting times.
Keychain Hardware
To finish my keychain, I need strong hardware. I use tough key rings, lobster clasps, or small chains. Pawimprint always picks good hardware. This keeps the keychain safe and looking nice, even if I use it every day. I like knowing my keepsake will last and stay on my bag or keys.
Felting Keychain Steps
Prepare the Wool
I always start by choosing the right wool for my felting keychain. I pull off a piece of wool and roll it between my hands to make a loose ball or egg shape. This step helps me get a basic form before I use any tools. I use core wool for the inside because it is easy to shape and keeps the keychain light. For the outside, I pick finer wool to give a smooth finish. I lay out all my wool and tools on a firm surface so I can work safely and neatly.
Tip: Rolling the wool tightly before felting makes the shape stronger and helps the keychain last longer.
Shape and Felt
I take my felting needle and start poking the wool. I stab the needle straight in and out, always at the same angle. This helps the wool fibers lock together and makes the shape firm. I turn the wool often so every side gets even. I begin with simple shapes like balls or eggs. These are easy to make and work well for small animals or heads.
When I want to add more detail, I switch to a finer needle. I layer thin pieces of wool on top and felt them in place. This makes the surface smooth and hides any holes. Sometimes, I use a mix of wet felting and needle felting to add special textures. Wet felting uses warm water and soap to help the wool stick together. I find that this step takes practice. My first felting keychain took me almost three hours, but I got faster with each try. Now, I can finish a small animal in about ninety minutes.
Beginners often need 1-3 hours for a small project.
Experienced crafters can finish in less than an hour.
Practice helps me work faster and get better results.
Add Details
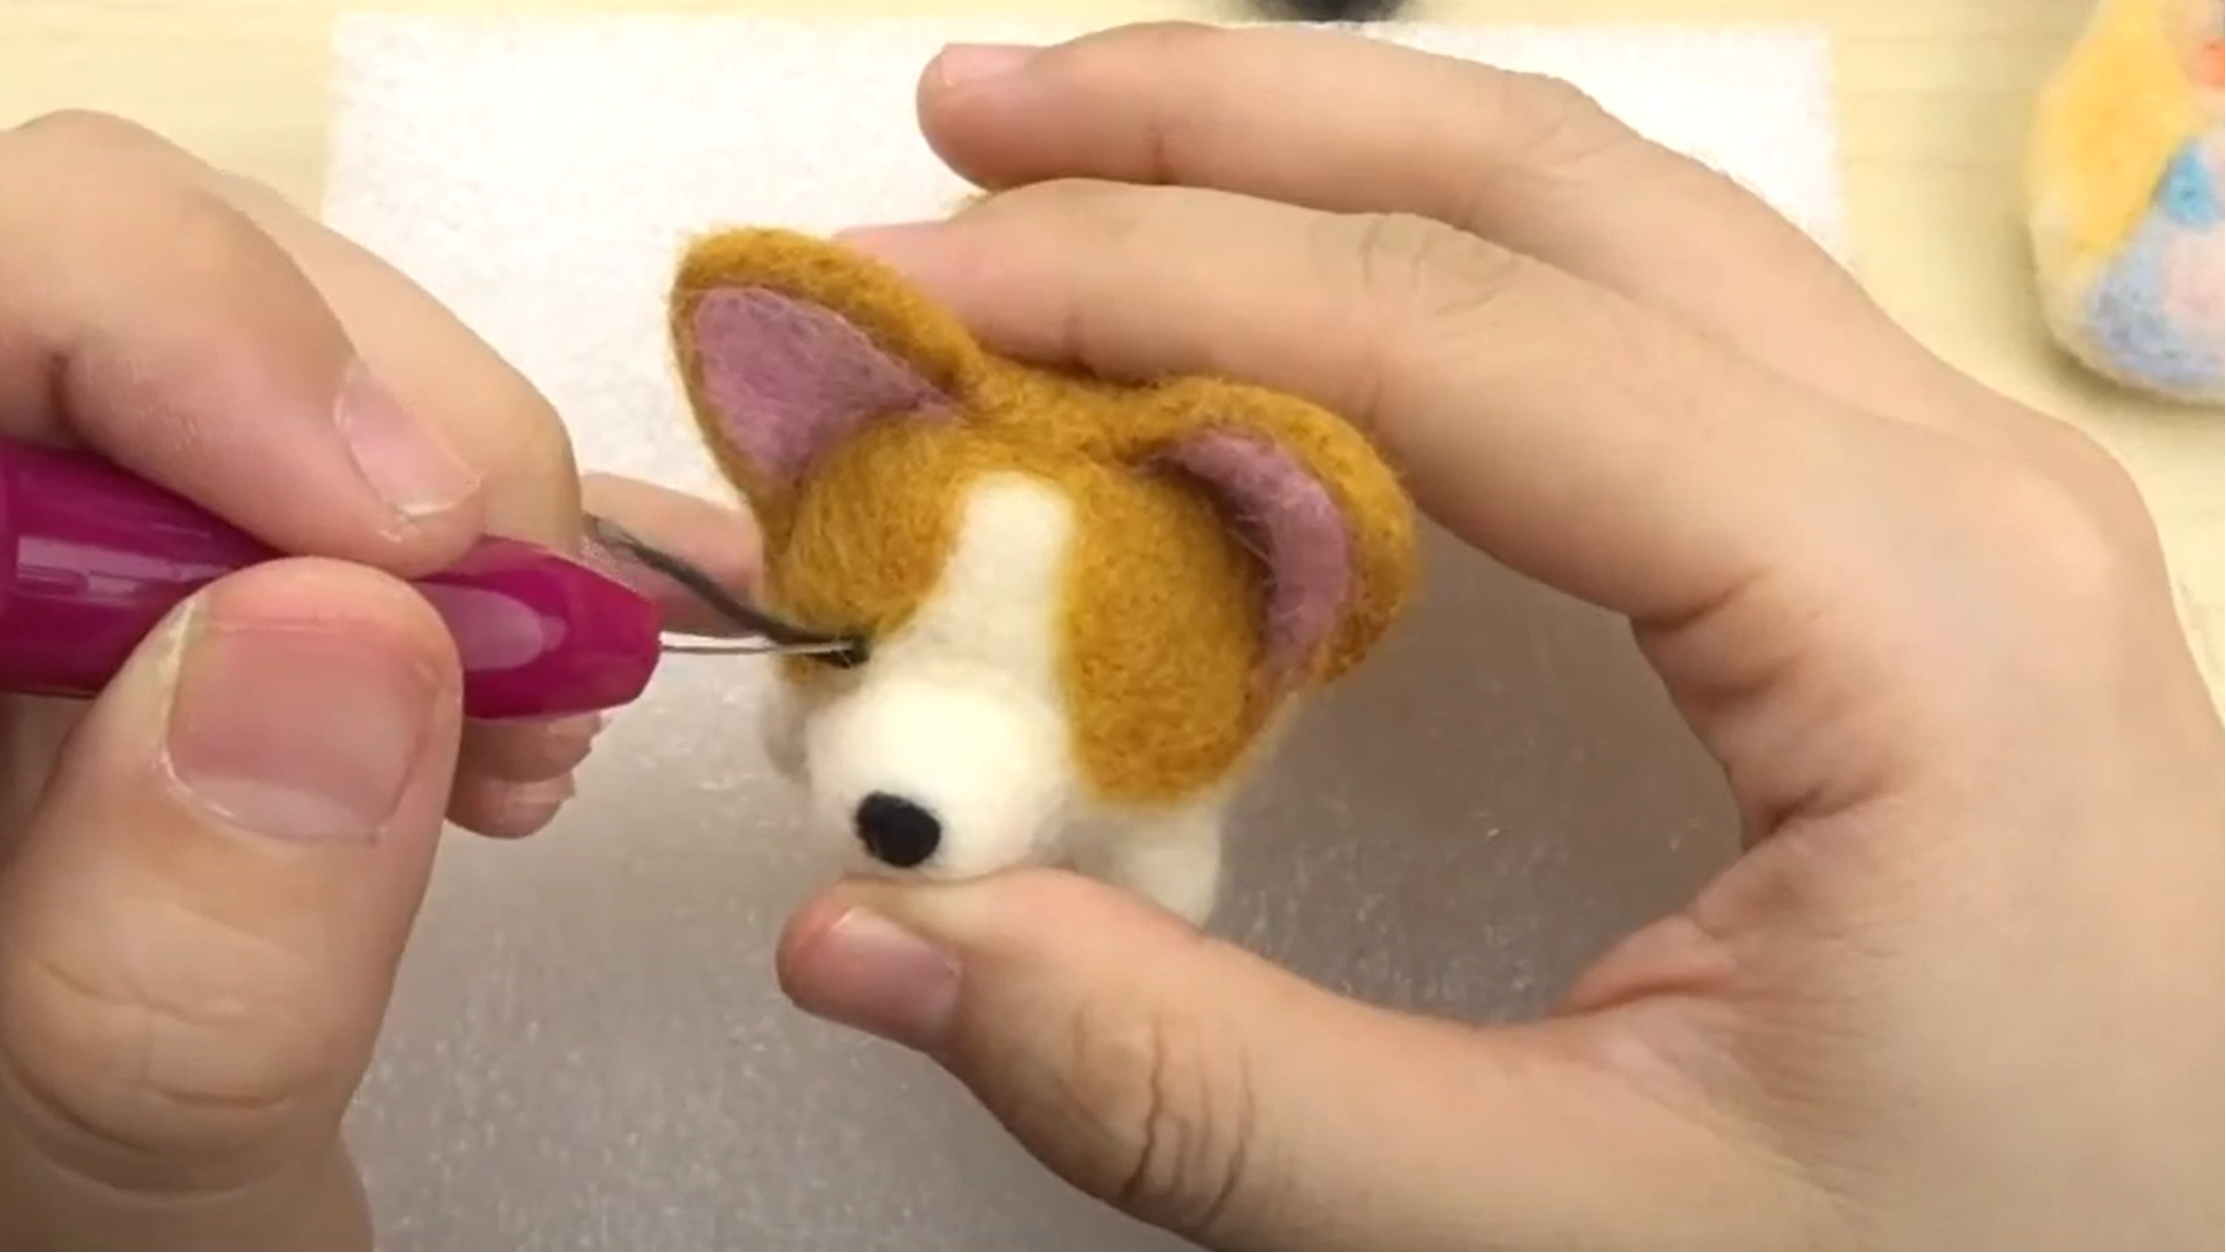
This is my favorite part. I look at my pet’s photo and start adding small features. I use a fine needle to shape the nose, ears, and mouth. I blend different colors of wool to match my pet’s fur. I rub the wool with my fingers to cover any holes and make the surface soft. For the eyes, I sometimes use tiny beads or paint them by hand to capture my pet’s expression.
Pawimprint artisans use many special tricks to make each keychain look real. They start with thick needles for the main shape, then use finer needles for details. They layer and blend wool to get the right color and texture. They trim stray fibers with scissors and brush the wool to look like real fur. Sometimes, they use a mini iron to smooth the surface. Each strand of wool is placed by hand to match the pet’s markings. Accessories like collars or bows can be added to show off a pet’s personality. Clear photos help the artist get every detail right.
Note: The more time I spend on details, the more lifelike my felting keychain becomes.
Attach Hardware
When I finish the wool part, I get ready to turn it into a keychain. I use a strong key ring or lobster clasp. I sew or glue a small loop of thread or wire into the top of the felted shape. Then, I attach the hardware through the loop. I make sure everything feels secure so the keychain will not fall apart. Pawimprint always uses high-quality hardware to keep the keepsake safe and easy to use.
Now, my felting keychain is ready to go wherever I do. I can clip it to my keys, bag, or backpack. Every time I see it, I remember my pet and feel happy.
Tips and Ideas
Avoid Mistakes
When I first started making felting keychains, I made a lot of mistakes. Over time, I learned how to avoid them. Here is a table that helps me remember the most common mistakes and how to prevent them:
Common Mistake |
Prevention Tip |
|---|---|
Not using a felting cushion |
Always use a felting cushion to protect both your project and your fingers. |
Stabbing the needle too deep |
Use short, quick stabs. This keeps the wool firm and saves your needles from breaking. |
Using the wrong size needle |
Match the needle size to your wool. For example, use a Star 36 for Romney wool, a smaller one for Merino. |
Felting with the wrong wool |
Choose wool that felts well, like Romney or Icelandic. Avoid Superwash wool. |
Breaking felting needles |
Keep the needle straight and avoid sideways pressure. Always have extra needles ready. |
Improper stuffing/filling techniques |
Fill edges and corners first. Add fiber slowly to avoid lumps. Use the right tools for small areas. |
I always start stuffing from the edges and corners. I add fiber little by little and use my fingers to smooth out lumps. If I see loose fibers or uneven shapes, I poke the wool more or add small pieces where needed. I keep my needle straight and never twist it inside the wool. I check my work often and add more wool if I need to make the shape firmer.
Tip: Use a finer needle for finishing touches. This helps lay decorations flat and gives a polished look.
Get Creative
I love making each felting keychain special. I use bright colors and shape the wool in new ways to create fun textures. Sometimes, I add tiny details like wide eyes, little noses, or even a favorite collar. I can turn my keychain into a bag charm or a zipper pull for extra flair.
Here are some ways I get creative:
I use vibrant wool colors to match my pet’s unique markings.
I add accessories like bows, scarves, or angel wings.
I try different shapes, like hearts or stars, for the base.
I use traditional techniques to give my keychain a handmade feel.
The best way to personalize a felting keychain is by using a photo of my pet. When I send a photo to an artist, they can copy my pet’s features and personality. This makes the keychain look just like my furry friend. I feel proud when I see how closely the finished piece matches my pet. It becomes a one-of-a-kind keepsake that holds special memories.
Note: A custom keychain made from a pet photo is a thoughtful gift and a lasting tribute.
I saw plain wool become a keepsake that reminds me of my pet. Many people feel better with custom pet keepsakes, like keychains or memory boxes. These items help us remember and honor pets we love. Keepsakes are nice gifts for birthdays, holidays, or sad times. I think creative crafts like these bring comfort and help memories last. You can try making your own or pick a custom Pawimprint keychain to celebrate your pet’s story.
FAQ
How long does it take to make a felting keychain?
I usually spend 1 to 3 hours on a single keychain. The time depends on the size and the amount of detail I want to add. Practice helps me work faster.
Can I wash my wool felt keychain?
I do not recommend washing it in water. Wool felt can lose its shape if it gets wet. If my keychain gets dirty, I gently spot clean it with a damp cloth.
What kind of photos work best for custom keychains?
Clear, close-up photos of my pet’s face work best. I make sure the lighting is good and the features are easy to see. This helps the artist capture my pet’s unique look.
Is a felting keychain safe for kids?
I keep my felting keychain away from small children. The hardware and small parts can be a choking hazard. I use it as a keepsake or accessory, not a toy.
Tip: Always supervise young children around small crafts and keychains.